
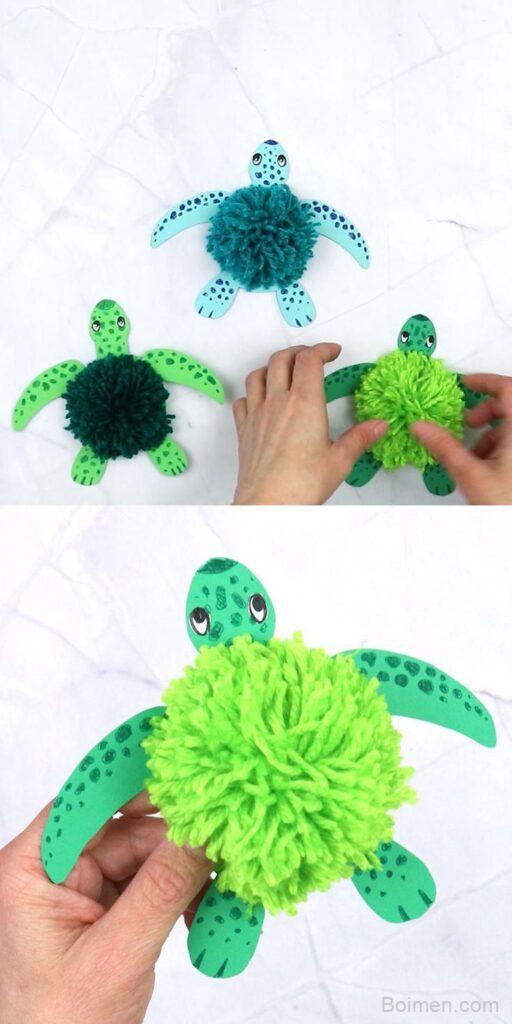
Yarn turtles are the perfect small project for using up scrap yarn and creating a cute, giftable toy. In this guide, I'll show you exactly how to make them efficiently, with real numbers and pro tips to avoid common pitfalls.
Advertisements1
- A standard yarn turtle uses about 30 yards of worsted weight yarn and takes 45 minutes to make once proficient.
- Use a 3.5mm hook for worsted weight yarn to get a tight fabric that won't show stuffing.
- Always count stitches and use a stitch marker; amigurumi requires precise counts to maintain shape.
- Sew pieces securely with a whipstitch, going through each stitch twice to prevent wobbly limbs.
- For selling, price at $15 minimum to cover materials, time, and fees; profit margins are slim if you value your time.
Why Yarn Turtles? Practical Benefits and Real Numbers
Yarn turtles are not just adorable; they're a smart way to use leftover yarn. A typical turtle uses about 15-20 yards of worsted weight yarn for the shell and 10-15 yards for the body, totaling around 30 yards. That's less than a quarter of a standard 120-yard skein. If you sell them at craft fairs, they retail for $8-$15, depending on size and detail. I've made over 200 turtles, and my average time per turtle is 45 minutes once you're proficient. That's a potential $10-$20 per hour if you sell them. But even if you don't sell, they make great gifts and are a hit with kids.
From a cost perspective, using scrap yarn means your material cost is near zero. Even if you buy new yarn, a $5 skein can yield 4-6 turtles. Compare that to a larger amigurumi that might use an entire skein. So, yarn turtles are economical and fast.
Risk: If you use too small a hook, the fabric becomes stiff and hard to stuff. I recommend a 3.5mm (E) hook for worsted weight to get a tight but workable fabric. Always check your gauge: 4 sc = 1 inch. If your gauge is off, the turtle may be too large or small.
Choosing the Right Yarn and Hook for Yarn Turtles
Not all yarn works well for turtles. I've tested many types. Here's my breakdown:
– **Worsted weight (4)**: Best all-around. Easy to find, works up quickly. Use a 3.5mm hook. Example: Red Heart Super Saver.
– **DK weight (3)**: Good for smaller turtles. Use a 2.75mm hook. They turn out about 2 inches long.
– **Bulky (5)**: Makes large turtles, but can be tricky to shape. Use a 5mm hook. They use about 50 yards total.
– **Cotton**: Great for durability and stitch definition, but less stretchy. Use a 3mm hook. Cotton turtles are heavier and sit nicely.
Avoid novelty yarns like eyelash or bouclé—they hide stitches and make counting nearly impossible. I learned that the hard way: I once made a turtle with eyelash yarn and ended up with a fuzzy blob. Stick to smooth yarns.
Hook size matters. If you use a hook too large, the stuffing shows through. Too small, and your hands will ache. For worsted, 3.5mm is the sweet spot. Always make a gauge swatch: work 6 sc in a magic ring, then measure the diameter. It should be about 1.5 inches. If it's larger, go down a hook size.
Step-by-Step: How to Crochet a Yarn Turtle
Here's my go-to pattern for a 3-inch turtle. It's simple and fast.
**Shell (make 2):**
1. Magic ring, 6 sc. (6)
2. Inc in each st around. (12)
3. [Sc, inc] around. (18)
4. [2 sc, inc] around. (24)
5. [3 sc, inc] around. (30)
6-8. Sc around. (30)
Fasten off, leave a tail for sewing.
**Body:**
1. Magic ring, 6 sc. (6)
2. Inc in each st around. (12)
3. [Sc, inc] around. (18)
4-6. Sc around. (18)
7. [Sc, dec] around. (12)
Stuff firmly.
8. Dec around. (6)
Close.
**Head:**
1. Magic ring, 6 sc. (6)
2. Inc in each st around. (12)
3-5. Sc around. (12)
6. [Sc, dec] around. (8)
Stuff lightly.
7. Dec around. (4)
Close, leaving tail for sewing.
**Legs (make 4):**
1. Magic ring, 6 sc. (6)
2-3. Sc around. (6)
Stuff lightly.
Fasten off.
Assembly: Sew head to body at round 4. Sew legs to body evenly spaced. Sew shell halves together, stuffing lightly, then attach to body. Add eyes with black embroidery floss.
This pattern yields a turtle that's 3 inches long and uses about 25 yards of worsted yarn. I can make one in 40 minutes now.
Common Mistakes and How to Avoid Them
Even experienced crocheters make these mistakes. I've made them all, so you don't have to.
– **Not counting stitches**: In amigurumi, stitch count is critical. If you're off by one, the shape distorts. Use a stitch marker. I place one at the beginning of each round.
– **Overstuffing**: It stretches the fabric and shows gaps. Use small amounts of fiberfill, adding more as you close. For a 3-inch turtle, use about a golf-ball-sized amount total.
– **Sewing pieces too loosely**: This leads to wobbly limbs. Use a whipstitch and go through each stitch twice. I use a 5-inch tapestry needle.
– **Using the wrong hook size**: As mentioned, gauge matters. Always check.
– **Skipping the magic ring**: If you start with a chain, you'll get a hole. The magic ring closes tight. Here's a quick tip: wrap yarn twice, work sc into the loop, then pull the tail to close.
Risk: If you ignore these, your turtle may look lumpy or fall apart. I've seen turtles with heads that flop because they weren't sewn securely. Take the extra 5 minutes to sew properly.
Variations and Customizations for Yarn Turtles
Once you've mastered the basic turtle, try these variations. They add value and fun.
– **Color changes**: Use a different color for the shell to create a pattern. For a striped shell, change color every 2 rounds. This uses about 5 extra yards.
– **Size variations**: Use bulky yarn and a 5mm hook for a 6-inch turtle. It uses about 60 yards and takes 1.5 hours. Or use thread and a 1.5mm hook for a 1-inch micro turtle. That's fiddly but cute.
– **Add a tail**: Work a small chain of 5, then sl st back. Attach to the back of the body.
– **Embroidered details**: Add a smile or blush. Use embroidery floss and a small needle.
– **Safety eyes**: For children under 3, avoid plastic safety eyes; embroider instead. Safety eyes can be a choking hazard if not secured properly. I always embroider for kids' toys.
These tweaks can increase perceived value. A striped turtle with embroidered eyes sells for $5 more at craft fairs. But don't overcomplicate; keep it fun.
Selling Yarn Turtles: Pricing and Profitability
If you want to sell your turtles, do the math first. Let's calculate costs and time.
– **Materials**: If using scrap yarn, cost is $0. If buying, a $5 skein makes 4 turtles, so $1.25 per turtle. Stuffing: a $10 bag makes about 50 turtles, so $0.20. Eyes: $2 for 100 pairs, so $0.04. Total: ~$1.50.
– **Time**: 45 minutes per turtle. If you value your time at $15/hour, that's $11.25.
– **Total cost**: $12.75. If you sell for $15, profit is $2.25. That's a 15% margin.
But if you use scrap yarn and don't count your time, profit is $13.50 per turtle. At a craft fair, I sell 20 turtles in a day, making $270. That's not bad for a day's work.
However, be realistic. Online, competition is fierce. On Etsy, similar turtles sell for $12-$18. After fees (6.5% transaction + 3% payment + $0.20 listing), you net about $13 on a $15 sale. So price at $15 minimum. Also, consider shipping: $4 for first class. You might offer free shipping and build it into the price.
Risk: Don't quit your day job. This is a side hustle. Test the market before mass-producing.
Caring for Your Yarn Turtle
To keep your turtle looking new, follow these care tips.
– **Cleaning**: Surface wash with mild soap and cold water. Do not machine wash unless you used cotton and sewed securely. Even then, place in a mesh bag. I've had turtles unravel in the wash.
– **Drying**: Air dry. Squeeze gently to remove excess water. Do not wring.
– **Storage**: Keep away from pets and direct sunlight. Sun fades colors.
– **Repairs**: If a limb comes loose, re-sew with matching thread. Check seams periodically.
If you used safety eyes, check they're secure. For children, regularly inspect for loose parts. These turtles are not indestructible, but with care, they last for years. I have a turtle I made 5 years ago that still looks great.
How to Do It, Step by Step
- 1Gather materials and check gauge
Use worsted weight yarn and a 3.5mm hook. Work a gauge swatch: 6 sc in magic ring should measure 1.5 inches across. If not, adjust hook size. This prevents size surprises. - 2Crochet the shell halves
Follow the shell pattern, making two identical pieces. Use a stitch marker to track rounds. Count stitches after each round to catch errors early. - 3Crochet the body, head, and legs
Work each piece separately, stuffing lightly as you go. For the body, stuff firmly but not so much that stitches stretch. Leave long tails for sewing. - 4Assemble with secure stitching
Pin pieces in place before sewing. Use a whipstitch and go through each stitch twice. Sew head to body at round 4, legs evenly around. Attach shell last. - 5Add facial features
Embroider eyes with black floss using a French knot or simple stitch. For a smile, use a single strand of embroidery floss. Avoid safety eyes for children under 3. - 6Finish and inspect
Weave in all ends. Check for loose stitches and reinforce if needed. Gently reshape the turtle. Your turtle is ready to gift or sell.
The difference between a cute yarn turtle and a lumpy blob is 90% in the assembly—take the extra five minutes to sew securely.
Frequently Asked Questions
What is the best yarn for making yarn turtles?
Worsted weight (category 4) acrylic yarn is best for beginners because it's easy to work with and widely available. It gives good stitch definition and comes in many colors. Cotton is also great for a more durable turtle, but it has less stretch, so adjust your tension.
How much yarn do I need for a yarn turtle?
A typical 3-inch turtle uses about 25-30 yards of worsted weight yarn total. That's roughly 15-20 yards for the shell and 10-15 yards for the body, head, and legs. So one 120-yard skein can make 4-6 turtles.
Can I sell yarn turtles I make?
Yes, you can sell finished yarn turtles. However, check the copyright policy of the pattern designer if you're using someone else's pattern. Many designers allow selling finished items but require credit. For your own patterns, you're free to sell.
How do I make a yarn turtle without a magic ring?
You can start with a chain 2 and work the first round into the first chain, but this leaves a small hole. To avoid it, use the magic ring. If you must avoid it, you can sew the hole closed with the tail yarn after finishing.
What size hook for yarn turtle?
For worsted weight yarn, use a 3.5mm (E) hook. For DK weight, use 2.75mm. For bulky, use 5mm. Always check gauge: your first round of 6 sc should measure about 1.5 inches in diameter for worsted.

Diego covers personal finance and investing for freelancers and gig workers. His angle is practical money management for irregular income, from budgeting to tax basics.


Leave a Comment