
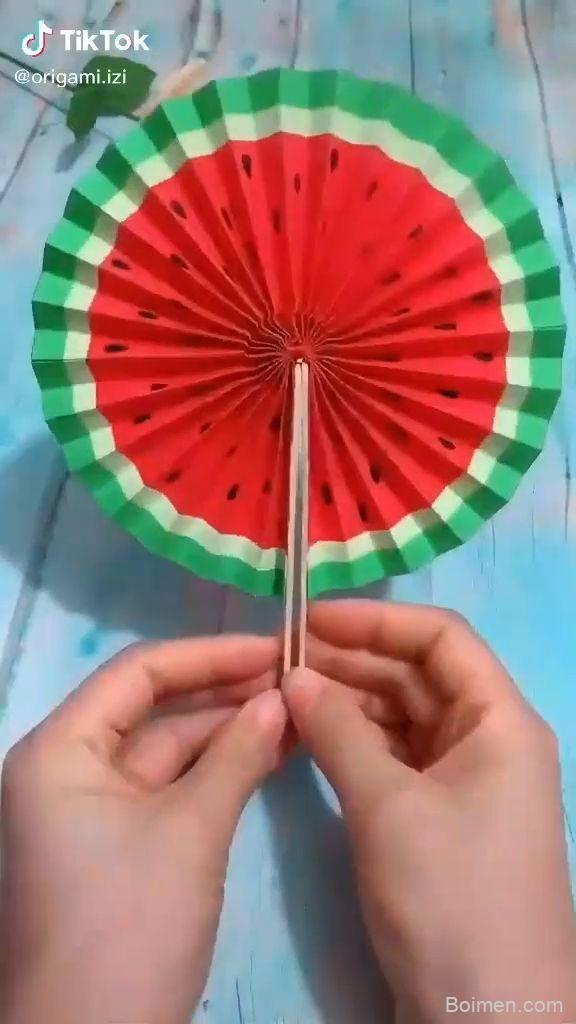
The secret to super paper craft isn't more tools—it's understanding how paper behaves. In this listicle, I'll share seven hacks that transformed my practice, each with a clear why and a common pitfall to avoid.
Advertisements1
- Paper weight matters: 120–160 gsm for cutting, 200–300 gsm for structure.
- Always score folds with a bone folder to prevent cracking.
- Change blades every 20–30 minutes to avoid tearing.
- Layer with foam dots for depth, but limit to 3–4 layers.
- Store scraps flat by color to save money and stay organized.
- Photograph with diffused light and no flash for true colors.
Choose the Right Paper Weight for Your Project
Paper weight is measured in grams per square meter (gsm). For intricate cutting, 120–160 gsm offers a balance of stiffness and workability. For structural pieces, 200–300 gsm holds folds without cracking. I keep a swatch book from my local art store—touching the sheets tells me more than any label.
The why: Heavier paper resists tearing and holds creases, while lighter paper allows finer detail. The mistake: Using cardstock for everything—it's often too thick for delicate cuts and can dull blades quickly. Test a corner before committing.
Master the Score-and-Fold Technique
A crisp fold starts with a score line. Use a bone folder and a straightedge to compress the fibers along the fold. For curves, score lightly with a dull pencil. This prevents cracking and creates sharp edges.
The why: Scoring breaks the paper's surface tension, guiding the fold precisely. The mistake: Folding without scoring—it leads to uneven, bulky creases that ruin geometric designs. Practice on scrap paper until the pressure feels intuitive.
Use a Self-Healing Mat and Fresh Blades
A self-healing mat (like those from Olfa or Fiskars) protects your table and keeps cuts clean. Replace blades every 20–30 minutes of cutting; a dull blade tears rather than slices. I buy blades in packs of 100—it's cheaper than ruining a project.
The why: Sharp blades require less pressure, giving you control for curves and corners. The mistake: Using the same blade for weeks—it drags, causing ragged edges and hand fatigue. Change it when you feel resistance.
Create Depth with Layering and Dimensional Adhesives
Flat paper art is fine, but depth makes it sing. Use foam dots or double-sided adhesive squares to lift elements. Start with a base layer, then add mid-ground and foreground pieces. For a subtle shadow, place a slightly larger piece behind.
The why: Layering mimics natural depth perception, drawing the eye. The mistake: Overdoing it—too many layers make the piece bulky and unstable. Stick to 3–4 layers for a balanced look.
Incorporate Mixed Media for Texture
Paper alone can feel flat. Add texture with watercolor washes, ink splatters, or even embossing powder. I often paint a sheet with light washes before cutting, so the color varies within each shape. This adds a painterly quality.
The why: Texture engages the senses and makes the work feel handmade. The mistake: Saturating the paper—it warps and becomes difficult to cut. Use minimal water and let it dry completely under a weight.
Store and Organize Paper Scraps by Color
Scraps are treasures. I sort them into clear sleeves by color family—warm, cool, neutral. When I need a small accent, I don't have to cut into a new sheet. This saves money and reduces waste.
The why: Easy access keeps you in the creative flow. The mistake: Throwing scraps in a box—they crease and tangle. Flat storage in sleeves or folders preserves them.
Photograph Your Work with Diffused Light
Natural light is best, but direct sun creates harsh shadows. I shoot near a north-facing window or use a diffuser (even a white shower curtain works). Place the piece on a neutral background and shoot from a slight angle to show dimension.
The why: Diffused light reveals texture and color accurately. The mistake: Using flash—it flattens the image and creates hotspots. Turn it off and use a longer exposure with a tripod.
The Hacks, Step by Step
- 1Gather Your Tools
You'll need a cutting mat, craft knife with fresh blades, bone folder, metal ruler, and tweezers. Why: Having everything within reach prevents interruptions and keeps your cuts precise. - 2Select Paper and Test Cut
Choose paper based on project needs (120–300 gsm). Cut a small test shape to check blade sharpness and paper behavior. Why: This avoids ruining your main sheet. - 3Score Folds Before Cutting
Use a bone folder and ruler to score all fold lines. Why: Scoring ensures clean folds and prevents cracking. - 4Cut Intricate Details First
Start with the smallest, most delicate cuts, then work outward. Why: Cutting details first prevents the paper from losing stability. - 5Assemble with Precision
Use tweezers to place small pieces and foam dots for dimension. Why: Tweezers give control, and foam adds depth without bulk. - 6Photograph and Share
Set up in diffused light, shoot from multiple angles, and edit minimally. Why: Good photos do justice to your work and inspire others.
Super paper craft is not about perfection; it's about listening to the paper and letting it guide your hands.
Frequently Asked Questions
What is the best paper for super paper craft?
The best paper depends on the project: 120–160 gsm for intricate cutting and 200–300 gsm for structural pieces. Look for acid-free, archival papers to prevent yellowing over time.
How do I prevent paper from tearing when cutting?
Use a sharp blade and change it frequently—every 20–30 minutes of cutting. Also, make multiple light passes rather than one deep cut, especially on curves.
Can I use regular printer paper for paper craft?
Yes, but it's only suitable for simple projects like quilling or basic cards. For detailed work, use heavier paper that holds shape and resists tearing.
What adhesive works best for paper craft?
For most projects, a clear-drying craft glue or double-sided tape works well. For dimensional pieces, foam dots or squares provide lift without messy glue strings.
How do I store finished paper crafts?
Keep them flat in a dry, dark place, ideally in an archival box or between acid-free tissue. Avoid direct sunlight, which can fade colors.



Leave a Comment