
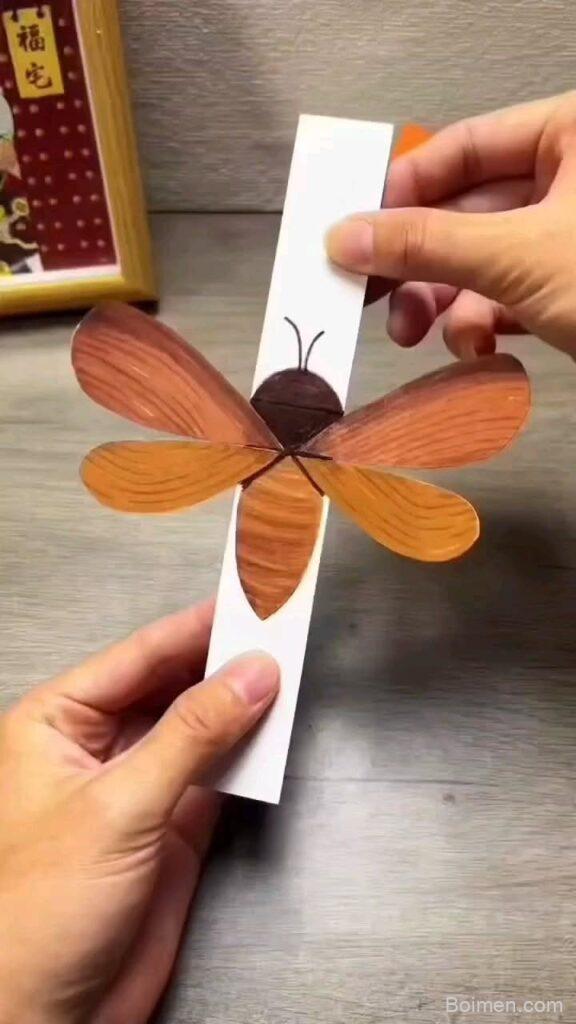
Ever folded a paper butterfly that just flopped? I've been there—until I discovered a few simple tweaks that make them flutter like they're alive. In this list, I'll share seven hacks that turn a flat sheet into a flying wonder, with step-by-step guidance and the why behind each trick.
Advertisements1
- The accordion fold is the engine—tighter pleats mean more flutter, but don't tear the paper.
- Wing shape matters: a rounded triangle with a curved leading edge creates lift.
- A small paper clip as ballast prevents backflips and stabilizes flight.
- Launch with an underhand toss and a slight spin for best results.
- Lightweight, textured paper (20-24 lb) outperforms thick cardstock.
- Keep decorations under 0.5 grams to maintain flight performance.
Hack 1: The Accordion Fold – Your Butterfly's Engine
Think of an accordion fold like a spring in a click pen—it stores energy and releases it in a burst. For a paper butterfly, this fold creates the flexible hinge that lets the wings flap. Start with a square of lightweight paper (20 lb bond or origami paper). Fold it in half diagonally, then make 1/4-inch accordion pleats along the diagonal. The tighter the pleats, the more spring you get. But don't overdo it—pleats narrower than 1/8 inch can tear. This fold is the heart of your butterfly's flutter.
Hack 2: Wing Shape – It's Not Just About Looks
You might think any wing shape will fly, but aerodynamics matter even at this scale. I learned this the hard way after cutting out perfect circles that just spun in circles. The ideal wing is a rounded triangle—like a guitar pick—with a slightly curved leading edge. Use a template or freehand a shape that's about 2 inches long and 1.5 inches wide at the base. The curve helps air flow smoothly, creating lift.
Hack 3: The Paper Clip Ballast – Tiny Weight, Big Impact
Ever thrown a paper airplane that nose-dived? Same principle here. A small paper clip (the 1-inch size) attached to the butterfly's body acts as ballast, shifting the center of gravity forward. This prevents the butterfly from flipping backward mid-flight. Attach it with a tiny piece of tape near the head, but not too far forward—about 1/3 from the front. Test by dropping from shoulder height; adjust until it glides rather than tumbles.
Hack 4: The Launch Technique – It's All in the Wrist
You can have the perfect butterfly but launch it like a baseball and it'll crash. The ideal launch is a gentle underhand toss, like you're skipping a stone. Hold the butterfly by the body, wings up, and release with a slight upward flick. The goal is to impart spin, which creates a vortex that stabilizes flight. Practice over a bed or couch to avoid crumpled prototypes.
Hack 5: Material Matters – Beyond Printer Paper
Not all paper is created equal. I've tested everything from newspaper to parchment, and the sweet spot is 24 lb lightweight paper with a slight texture, like vellum or tracing paper. It's stiff enough to hold folds but light enough to catch air. Avoid glossy paper—it's slippery and doesn't hold creases well. If you're in a pinch, a page from an old phone book works surprisingly well.
Hack 6: The Rubber Band Catapult – For Distance and Drama
Want to impress? Launch your butterfly with a rubber band catapult. Loop a rubber band around your thumb and index finger, hook the butterfly's body, pull back, and release. This gives a powerful, straight launch. But caution: too much tension and your butterfly will crumple. Use a thin rubber band (size #16) and pull back only 2 inches. This is great for outdoor play where you want height.
Hack 7: Customization – Make It Your Own
Once you've mastered the basics, tweak the design. Add a tail made from a thin strip of paper to improve stability, or draw patterns with markers—the extra ink adds negligible weight but makes it uniquely yours. I once added tiny glitter dots that created a shimmering trail. Just avoid heavy embellishments like googly eyes; they throw off balance.
The Hacks, Step by Step
- 1Cut a square of lightweight paper
Use 20-24 lb paper or origami paper, about 6×6 inches. This weight balances strength and flexibility, allowing the wings to flutter without tearing. - 2Fold an accordion pleat along the diagonal
Make 1/4-inch pleats from corner to corner. This creates the spring mechanism that powers the wing flaps. - 3Shape the wings
Cut a rounded triangle shape, about 2 inches long, with a curved leading edge. This aerodynamic shape generates lift. - 4Attach a small paper clip to the body
Tape a 1-inch paper clip near the head to shift the center of gravity forward, preventing backflips. - 5Test and adjust
Drop from shoulder height. If it flips, move the clip slightly forward; if it dives, move it back. - 6Launch with an underhand toss
Hold by the body and release with a gentle upward flick to impart spin and lift. - 7Experiment with materials and decorations
Try vellum or tracing paper, and add light patterns. Avoid heavy embellishments that disrupt balance.
A paper butterfly is a tiny physics lesson—every fold, curve, and gram matters if you want it to dance in the air.
Frequently Asked Questions
What is the best paper for a flying butterfly?
Lightweight paper between 20-24 lb, such as origami paper or vellum, works best. It's stiff enough to hold folds but light enough to catch air.
How can I make my paper butterfly fly better?
Add a small paper clip as ballast near the head and use an underhand toss with a slight spin. Adjust the clip's position until it glides smoothly.
Why does my paper butterfly keep flipping?
It's likely tail-heavy. Move the paper clip forward or add a tiny bit more weight to the nose to shift the center of gravity.
Can I use printer paper for a flying butterfly?
Yes, standard 20 lb printer paper works, but it may be too stiff. For better flutter, try lighter paper like tracing paper.
How do I launch a paper butterfly for distance?
Use a rubber band catapult with a 45-degree angle and moderate tension. This gives a powerful, straight launch without crumpling.



Leave a Comment