
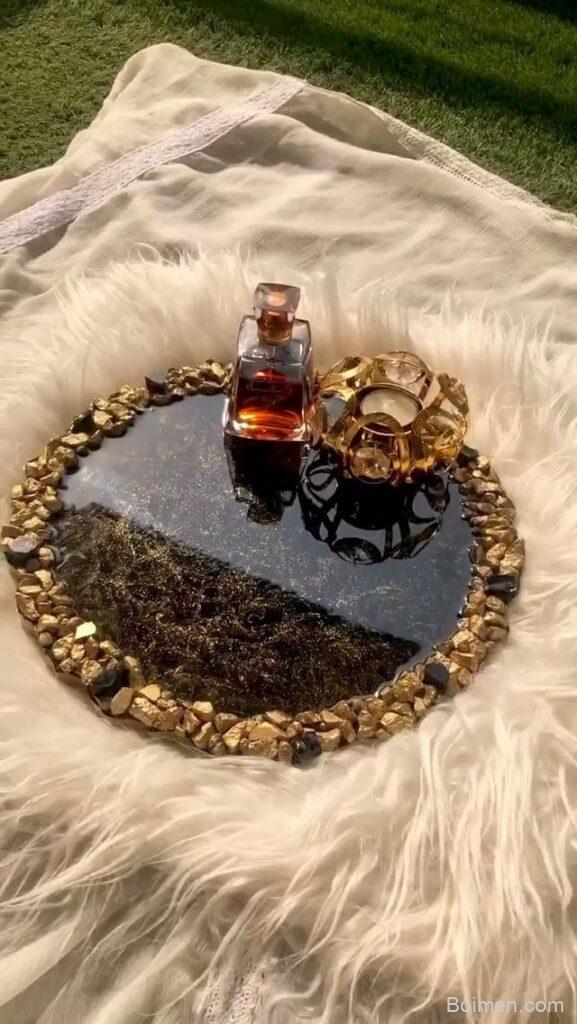
I've poured hundreds of resin pieces, and these 7 hacks saved my projects from disaster. Whether you're a newbie or a pro, you'll find a tip that changes your craft. Let's dive in.
Advertisements1
- Warming resin before mixing reduces bubbles and improves flow.
- Measure by weight, not volume, for accurate 1:1 ratios.
- A heat gun is safer than a torch for popping surface bubbles.
- Tape mold edges to prevent leaks and messy cleanup.
- Demold at the right time to avoid tears or sticking.
- Toothpaste can polish dull resin in a pinch.
Hack 1: Warm Your Resin for Bubble-Free Pours
Cold resin traps bubbles like a sponge. Before mixing, place your sealed bottles in a warm water bath for 10 minutes. This thins the resin, letting bubbles rise and pop before they cure. I do this every time, and my coasters come out glass-clear. But don't overheat—keep water below 100°F (38°C). Hot resin can cure too fast, causing cracks. A thermometer is your friend here.
Hack 2: Use a Heat Gun, Not a Torch, for Surface Bubbles
A quick pass with a heat gun pops surface bubbles instantly. Unlike a torch, it won't scorch your resin or set off smoke alarms. I keep mine on low, holding it 6 inches away for 2-3 seconds. Move constantly—if you linger, the resin can ripple. One mistake I see: people use a torch and end up with burnt spots. Save the torch for removing bubbles in deep pours, and even then, be quick.
Hack 3: Measure by Weight, Not Volume, for Perfect Ratios
Eyeballing equal parts is a recipe for sticky resin. Invest in a digital scale—they're cheap and accurate. Weigh Part A and Part B separately; for most Craft Resin USA kits, it's a 1:1 ratio by weight. I mix 100g of each for a small tray. If you're off by even 5g, your piece might stay tacky forever. Trust me, I learned the hard way. Always zero out your scale with the mixing cup on it first.
Hack 4: Add a Drop of White Paint to Make Colors Pop
Transparent dyes can look dull in thin layers. Mix a tiny drop of opaque white pigment into your colored resin to create a milky base that makes hues vibrant. I did this for a set of keychains, and the blue looked like ocean water. But don't overdo it—too much white turns pastel. Start with a toothpick's worth. This trick works wonders for Petri dish art, too.
Hack 5: Tape Your Mold to Prevent Leaks
Silicone molds can warp, causing resin to seep out. Run a line of packing tape along the bottom edges before pouring. It acts as a seal and keeps your table clean. I use this for all my coaster molds—no more scraping cured drips. Just remember to remove the tape before demolding. A common mistake is using tape that leaves residue; go for low-tack tape like painter's tape.
Hack 6: Demold at the Right Time for Clean Edges
Waiting too long makes demolding a wrestling match. For thin pieces (under 1/4 inch), demold after 12-24 hours. Thicker pours need 48-72 hours. I test by pressing gently—if it gives, wait. If you demold too early, edges tear. Too late, and the resin sticks to the mold. Set a timer! Also, work in a warm room; cold makes resin brittle.
Hack 7: Polish with Toothpaste for a Glossy Finish
Dull cured resin? A dab of whitening toothpaste and a soft cloth can restore shine. It's a gentle abrasive that removes fine scratches. I use it on small jewelry pieces. Rub in circles for a minute, then wipe clean. But don't use gel toothpaste—it's too runny. For larger projects, use a plastic polish. This hack saves you from buying expensive buffing compounds.
The Hacks, Step by Step
- 1Warm resin bottles in water
Place sealed bottles in a bowl of warm water (not hot) for 10 minutes before mixing. This reduces bubbles and improves flow. - 2Mix by weight with a scale
Use a digital scale to measure equal parts by weight. Zero the scale with the cup, then add Part A, tare, and add Part B. - 3Stir slowly for 3 minutes
Stir gently for at least 3 minutes, scraping the sides and bottom. Slow stirring prevents air bubbles. - 4Pop bubbles with a heat gun
After pouring, pass a heat gun 6 inches above the surface for 2-3 seconds. Move constantly to avoid ripples. - 5Tape mold edges
Run painter's tape along the bottom edges of your mold to prevent leaks. Remove before demolding. - 6Demold at the right time
For thin pieces, demold after 12-24 hours; for thick, 48-72 hours. Test by pressing gently—if it gives, wait.
The biggest secret to flawless resin is patience—rushing any step shows up in the final piece.
Frequently Asked Questions
How do I get rid of bubbles in epoxy resin?
Warm your resin before mixing and use a heat gun after pouring. Stir slowly to avoid introducing air.
What's the best way to measure epoxy resin?
Use a digital scale and measure by weight. Most Craft Resin USA kits use a 1:1 ratio by weight.
Can I use a torch instead of a heat gun?
A heat gun is safer for beginners. A torch can scorch resin if held too close or too long.
How long should I wait before demolding?
Thin pieces: 12-24 hours. Thick pieces: 48-72 hours. Test by pressing gently—if it's still soft, wait.
How do I fix dull cured resin?
Polish with whitening toothpaste and a soft cloth, or use a plastic polish for larger areas.



Leave a Comment