
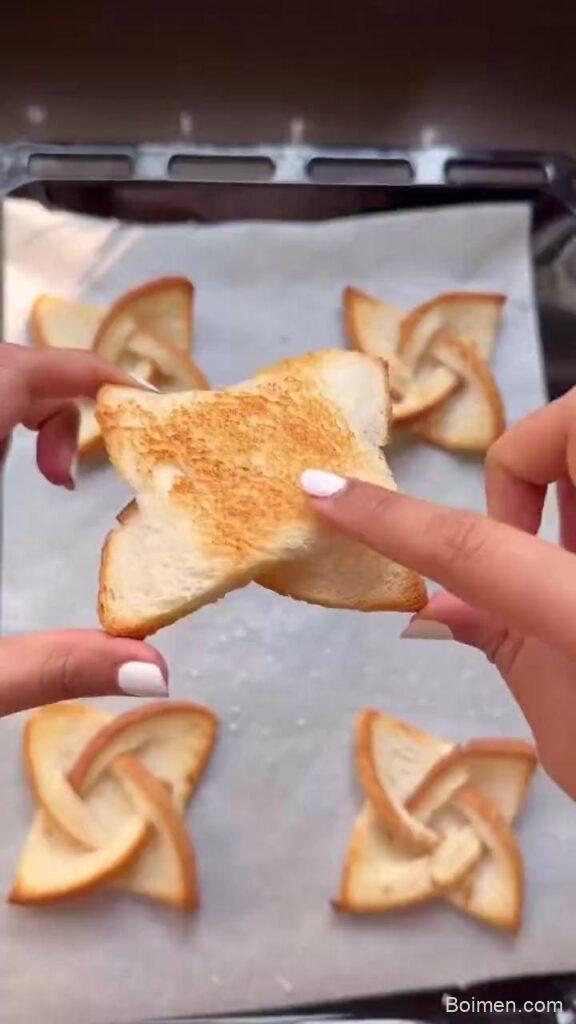
There is a particular quiet in the kitchen at four in the afternoon, when the light slants low across the counter and the day asks for something small and warm. Easy pinwheel toast was born in exactly that hour, from a loaf of soft white bread and a jar of cinnamon sugar that had been waiting patiently in the cupboard.
Advertisements1
You roll, you slice, you bake. The spirals open in the oven like small roses, edges turning amber, sugar bubbling at the seams until the whole kitchen smells of butter and warmth. It is the kind of baking that asks nothing of you and gives everything back.
I make these on grey afternoons when the house feels too still. They fill the space with a scent that says someone is home, and they are ready before the kettle has finished its second whistle.
Why You'll Love This Recipe
About the Ingredients
12 slices soft white sandwich bread, crusts left on
Day-old bread actually rolls better than fresh because it holds its shape without tearing. If you only have fresh, let the slices sit out for 20 minutes before starting. Whole wheat or brioche both work beautifully here.
6 tablespoons (85g) unsalted butter, softened
Softened butter spreads without tearing the bread; if yours is cold, microwave it in 5-second bursts. Salted butter works too, just skip the pinch of salt in the filling.
1/2 cup (100g) granulated sugar
Fine white sugar melts into the swirl most evenly. Light brown sugar gives a deeper, molasses-like caramel if you prefer a richer flavor.
1 tablespoon ground cinnamon
Fresh cinnamon is worth seeking out; old jars lose their oils and taste dusty. Ceylon cinnamon is sweeter and more delicate than the sharper cassia variety.
1 large egg, beaten
The egg wash is the glue that seals each roll and the gloss that turns golden in the oven. For an egg-free version, brush with 3 tablespoons of melted butter instead.
1 teaspoon vanilla extract
A small pour of vanilla rounds out the cinnamon. Almond or maple extract makes a lovely swap if vanilla is running low.
1 pinch fine sea salt
Salt keeps the sweetness from flattening out. Kosher salt works, but use half the amount since the flakes are larger.
2 tablespoons powdered sugar, for dusting (optional)
A light dusting finishes the plate. Skip it if you plan to pack these in lunchboxes, since it dissolves overnight.
Tips & Tricks
Roll tightly, not loosely
a firm roll keeps the spirals from uncoiling in the oven, so press gently as you go.
Chill before slicing
15 minutes in the refrigerator firms the butter and gives you clean, even pinwheels instead of squashed ones.
Watch the last three minutes
sugar goes from golden to bitter quickly, so pull the tray when the edges are amber, not dark.
Pro Tips
Step-by-Step Instructions
1. Heat the oven
Preheat the oven to 375F (190C) and line a large baking sheet with parchment paper. A hot, fully preheated oven is what gives the pinwheels their snap.
2. Flatten the bread
Roll each slice of bread flat with a rolling pin, pressing from the center outward until it is about a quarter-inch thick. This removes the airy sponginess so the bread rolls without cracking.
3. Mix the filling
Stir together the sugar, cinnamon, and pinch of salt in a small bowl until the color is even and warm-toned.
4. Butter and sprinkle
Spread each flattened slice with a thin layer of softened butter, then scatter about two teaspoons of cinnamon sugar across the surface, leaving a half-inch border at the far edge.
5. Roll and seal
Roll each slice tightly from the short end into a compact log, then brush the seam with beaten egg and press it closed. The egg wash seals the roll so it will not spring open while baking.
6. Chill the rolls
Place the logs seam-side down on a plate and refrigerate for 15 minutes. Cold butter slices cleanly; warm butter smears and drags.
7. Slice the pinwheels
Cut each log into three even rounds with a sharp serrated knife, using a gentle sawing motion rather than pressing down. You should have 36 spirals, each showing its cinnamon swirl.
8. Bake until golden
Arrange the pinwheels cut-side up on the prepared sheet and bake at 375F (190C) for 18 to 22 minutes, until the edges are deep golden brown and the sugar at the seams bubbles. They are done when the centers feel set and spring back lightly to the touch.
9. Cool and finish
Let them rest on the tray for 5 minutes, then dust with powdered sugar if you like. Serve while the centers are still tender and warm.
Delicious Variations
Chocolate hazelnut
swap the cinnamon sugar for 1/2 cup chocolate hazelnut spread and a handful of toasted hazelnuts.
Savory herb
replace the sugar with 1/2 cup grated parmesan, 1 teaspoon garlic powder, and chopped parsley for a cocktail-hour bite.
Apple butter swirl
spread apple butter instead of cinnamon sugar and finish with a whisper of nutmeg.
How to Store Easy Pinwheel Toast
Refrigerator
Store in an airtight container at room temperature for up to 2 days, or refrigerate for up to 5 days to keep the butter from softening.
Freezer
Freeze baked pinwheels in a single layer, then transfer to a freezer bag for up to 2 months. Reheat straight from frozen.
Reheating
Warm in a 325F (165C) oven for 6 to 8 minutes, or in an air fryer at 320F (160C) for 3 minutes, until the edges crisp again.
Frequently Asked Questions
Q: Can I make pinwheel toast ahead of time?
Yes, you can assemble and slice the pinwheels up to 24 hours ahead and keep them covered in the refrigerator. Bake them straight from cold, adding 2 to 3 minutes to the baking time.
Q: Why did my pinwheels unroll in the oven?
They unrolled because the seam was not sealed or the roll was too loose. Brush the edge with beaten egg, press it firmly closed, and chill the log before slicing so the butter holds everything together.
Q: Can I use gluten-free bread?
Yes, but choose a sturdy gluten-free sandwich loaf rather than a crumbly one. Flatten it gently with your palm instead of a rolling pin, since gluten-free slices tear easily.
Q: How do I know when they are fully baked?
The edges should be deep golden brown and the sugar at the seams visibly bubbling. If the centers still feel doughy when pressed, give them 2 more minutes and check again.
Q: Can I air fry pinwheel toast instead of baking it?
Yes, air fry at 350F (175C) for 8 to 10 minutes in a single layer, working in batches if needed. The spirals crisp faster in moving air, so check them at the 7-minute mark.
Make a tray this week, when the afternoon light is low and the kitchen is quiet. Share them warm, with tea, and let the small sweetness of the hour settle around you. Less, but better.

Easy Pinwheel Toast
Easy pinwheel toast turns soft sandwich bread into golden, cinnamon-swirled spirals that bake crisp in 25 minutes with six pantry staples.
🧂 Ingredients
- 12 slices soft white sandwich bread, crusts left on
- 6 tablespoons (85g) unsalted butter, softened
- 1/2 cup (100g) granulated sugar
- 1 tablespoon ground cinnamon
- 1 large egg, beaten
- 1 teaspoon vanilla extract
- 1 pinch fine sea salt
- 2 tablespoons powdered sugar, for dusting (optional)
📋 Instructions
- 1Heat the oven — Preheat the oven to 375F (190C) and line a large baking sheet with parchment paper. A hot, fully preheated oven is what gives the pinwheels their snap.
- 2Flatten the bread — Roll each slice of bread flat with a rolling pin, pressing from the center outward until it is about a quarter-inch thick. This removes the airy sponginess so the bread rolls without cracking.
- 3Mix the filling — Stir together the sugar, cinnamon, and pinch of salt in a small bowl until the color is even and warm-toned.
- 4Butter and sprinkle — Spread each flattened slice with a thin layer of softened butter, then scatter about two teaspoons of cinnamon sugar across the surface, leaving a half-inch border at the far edge.
- 5Roll and seal — Roll each slice tightly from the short end into a compact log, then brush the seam with beaten egg and press it closed. The egg wash seals the roll so it will not spring open while baking.
- 6Chill the rolls — Place the logs seam-side down on a plate and refrigerate for 15 minutes. Cold butter slices cleanly; warm butter smears and drags.
- 7Slice the pinwheels — Cut each log into three even rounds with a sharp serrated knife, using a gentle sawing motion rather than pressing down. You should have 36 spirals, each showing its cinnamon swirl.
- 8Bake until golden — Arrange the pinwheels cut-side up on the prepared sheet and bake at 375F (190C) for 18 to 22 minutes, until the edges are deep golden brown and the sugar at the seams bubbles. They are done when the centers feel set and spring back lightly to the touch.
- 9Cool and finish — Let them rest on the tray for 5 minutes, then dust with powdered sugar if you like. Serve while the centers are still tender and warm.

Ingrid explores Scandinavian minimalist design and slow living. She writes about creating calm, functional spaces with fewer, better things.


Leave a Comment