
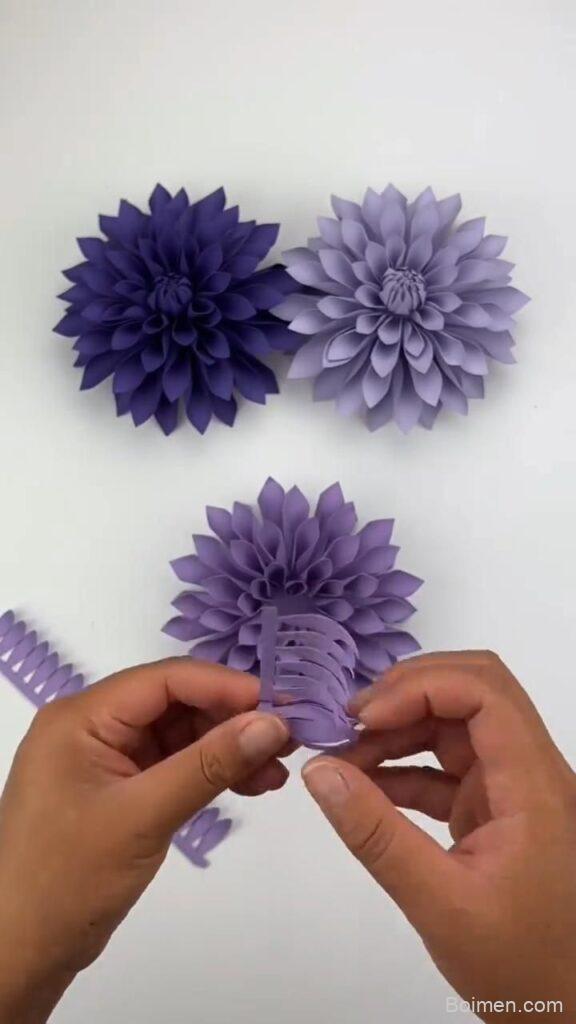
Picture this: a rainy Sunday, a stack of colorful paper, and a sudden urge to create something adorable. These 7 paper flower crafts are so easy, you'll have a bouquet before your tea gets cold.
Advertisements1
- Paper flowers are budget-friendly and require only basic supplies you likely already have.
- Each flower style offers a different skill level, from 5-minute pom-poms to detailed quilling.
- The secret to realistic flowers is shaping petals—curl, stretch, or cup them before assembling.
- Upcycling materials like coffee filters and book pages adds unique texture and charm.
- Let glue dry fully before handling; patience prevents smudges and tears.
Why Paper Flowers Are Your New Favorite Craft
Paper flowers are the ultimate low-commitment craft: no watering, no wilting, and endless color options. They're perfect for brightening up a desk, adding a personal touch to gifts, or just enjoying a mindful hour away from screens. Plus, you probably already have the supplies—paper, scissors, glue—making it a budget-friendly hobby.
Unlike real flowers, paper blooms can be customized to match any decor or occasion. Want a giant rose for a photo backdrop? Go for it. Need a tiny daisy for a greeting card? Easy. The possibilities are as limitless as your imagination.
And here's the best part: paper flowers are forgiving. If you mess up a petal, you can just cut another one. No pressure, no perfectionism—just playful creation.
The 5-Minute Tissue Paper Pom-Pom Flower
This is the classic fluffy flower you see at parties—and it takes about five minutes. Stack 8 sheets of tissue paper (20" x 15"), accordion-fold them into a 2" wide strip, and secure the middle with a pipe cleaner. Then, gently pull each layer apart, fluffing upward. Voilà! A cloud-like bloom.
Why it works: The accordion fold creates uniform layers that fan out evenly, and tissue paper's lightweight nature makes it easy to manipulate. It's a great way to use up leftover gift wrap tissue.
Common mistake: Pulling too hard and tearing the paper. Be gentle—think of separating delicate butterfly wings, not ripping a sheet of notebook paper.
Coffee Filter Roses That Look Almost Real
Coffee filters are secretly the best material for realistic roses. Their crinkly texture mimics natural petals, and they take dye beautifully. Start by cutting filters into petal shapes (roughly 2" wide ovals), then dip them in a mixture of water and food coloring. Let them dry, then layer and glue around a central bud, curling the edges with a pencil.
Why it works: The filter's absorbent fibers hold color and shape when dried, creating a lifelike translucence. Plus, the layers create depth that flat paper can't match.
Common mistake: Skipping the drying step. Wet filters tear easily, so let them dry completely before assembling. Patience pays off.
Quilled Flowers: Tiny Twirls with Big Impact
Quilling is the art of rolling thin strips of paper into coils and shaping them into petals. You'll need a quilling tool (or a toothpick) and 1/8" wide strips. Roll a strip into a tight circle, let it relax, then pinch one side to make a teardrop—that's a petal. Arrange six teardrops around a center coil for a daisy.
Why it works: The coiled paper creates a 3D effect that's surprisingly sturdy. Quilled flowers can be used for cards, jewelry, or framed art.
Common mistake: Rolling too tightly. You want a loose coil so it can expand and be shaped. If it's too tight, it won't pinch properly.
Origami Tulips: Fold, Blow, Bloom
Origami tulips are a crowd-pleaser because they have a little magic: after folding, you blow into a small hole to inflate the flower. Start with a 6" square, fold into a triangle, then follow simple valley and mountain folds to create the bud. Blow gently into the base to puff it up.
Why it works: The inflating step transforms flat folds into a 3D shape, which feels like a party trick. It's also a great way to teach basic origami principles.
Common mistake: Using thick paper. Standard origami paper (or thin printer paper) works best; cardstock is too stiff to inflate.
Giant Crepe Paper Peonies for Statement Decor
For a show-stopping flower, crepe paper is your friend. Its stretchy quality allows you to cup and curl petals realistically. Cut 12-15 large petal shapes (about 4" wide), stretch the edges with your thumbs to create a ruffled look, then layer them around a styrofoam ball center. Secure with hot glue.
Why it works: Crepe paper's elasticity lets you mold petals that hold their shape, and the layering creates a full, lush bloom. These are perfect for backdrops or oversized bouquets.
Common mistake: Not stretching the petals. If you skip this step, the petals will look flat and stiff. Stretching is what gives them life.
Upcycled Book Page Flowers: Vintage Charm
Old book pages (or sheet music) make beautiful, nostalgic flowers. Cut pages into squares, fold them into simple kite shapes, and glue them around a button center. You can also punch out circles and layer them for a different look. The text adds a unique pattern.
Why it works: The aged paper adds texture and a story—each flower is literally made of words. It's a great way to repurpose damaged books.
Common mistake: Using brittle paper. If the pages are too old and yellowed, they may crack when folded. Choose pages that still have some flexibility.
The Hacks, Step by Step
- 1Gather Your Supplies
You'll need: colored paper (tissue, crepe, origami, or coffee filters), scissors, glue (stick or hot glue), pipe cleaners, and a pencil. Keep it simple—no fancy tools required. - 2Choose Your Flower Style
Pick one from the list above based on time and materials. Tissue pom-poms are fastest; quilling takes precision. Start with a style that matches your mood. - 3Cut Petals or Shapes
Use templates or freehand cut petals. For symmetrical shapes, fold paper and cut multiple layers at once. Don't worry about perfection—organic shapes look more natural. - 4Shape and Curl
Use a pencil or your fingers to curl edges. For crepe paper, stretch the edges. This step adds dimension and realism. - 5Assemble and Layer
Start from the center and work outward, gluing petals in overlapping layers. Use a small ball of paper or a button as the center. - 6Add Stems or Attachments
Attach floral wire or pipe cleaners for stems. For cards, glue the flower directly onto the paper. Let everything dry completely. - 7Display or Gift
Arrange in a vase, add to a wreath, or attach to a gift. These flowers last forever—no water needed!
The best paper flowers are the ones that look a little imperfect—that's where the handmade charm lives.
Frequently Asked Questions
What kind of paper is best for making paper flowers?
It depends on the flower: tissue paper for fluffy pom-poms, crepe paper for realistic petals, and origami paper for folded designs. Coffee filters and book pages are great for upcycling.
How do I make paper flowers look more realistic?
Shape the petals by curling or stretching them, and layer them with slight variations in size and angle. Adding a touch of color with chalk or watercolor can also enhance realism.
Can I make paper flowers without glue?
Yes, some designs like origami tulips don't require glue. For others, you can use double-sided tape or a glue stick, but hot glue is best for sturdy holds.
How long do paper flowers last?
Paper flowers can last for years if kept away from moisture and direct sunlight. They may fade over time, but they won't wilt like real flowers.
What are some easy paper flower crafts for kids?
Tissue paper pom-poms and simple origami tulips are great for kids. They require minimal precision and yield quick, satisfying results.



Leave a Comment