
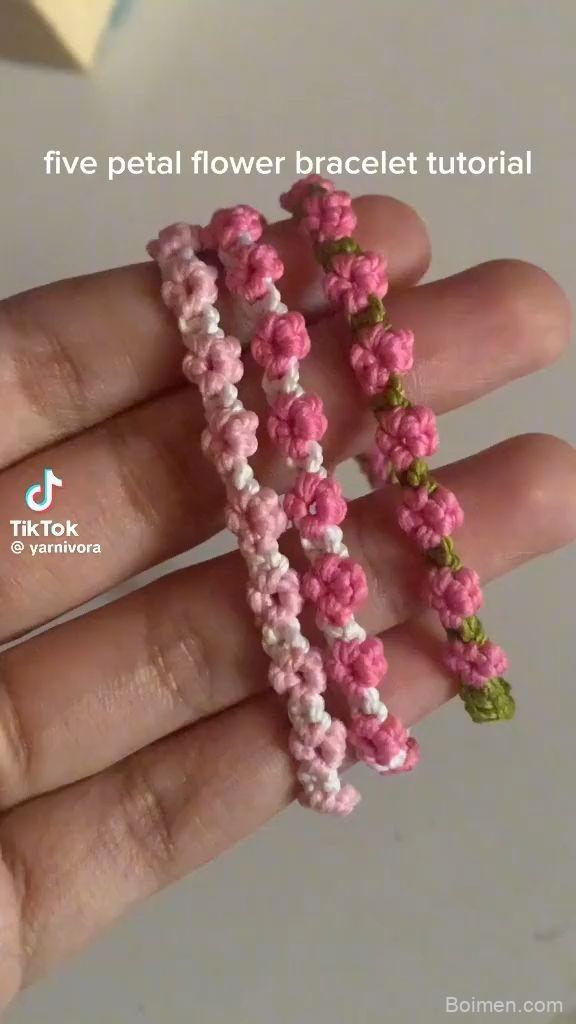
I used to think crafting was about filling empty hours. Then I learned to see the light catching a brass loop, the weight of a stone in my palm, and I understood it was about making space for stillness. Here are the small, deliberate hacks that turn a few materials into something you'll actually wear or display.
Advertisements1
- Limiting yourself to one material per session deepens your skill and speeds up decision-making.
- A homemade jig from nails or a dowel can cut repetitive wirework time by half.
- Finishing the back of a piece is what separates handmade from homemade.
- Natural light reveals the true weight and shadow of a design; screens lie.
- One odd color or texture prevents a palette from feeling flat and mass-produced.
- Keeping unfinished work visible turns crafting into a daily ritual instead of a rare event.
Start with one material you love
I keep a shallow dish of 20-gauge brass wire on my worktable. When I sit down, I don't plan a whole collection. I pick up the wire and let my fingers remember the twist. That single material becomes the thread that ties an afternoon together. The constraint is the point: you stop shopping for supplies and start listening to what the metal wants to do.
A common mistake is buying a kit with twelve different components. You end up with a drawer of mismatched findings and no clear voice. Instead, choose one metal, one stone, or one spool of linen cord. Work with it until you know its temper. Brass stiffens as you work-harden it; linen softens with every knot. That knowledge is what makes a piece feel intentional, not assembled.
Let the light decide the design
In my studio, the best ideas come between four and six in the afternoon, when the sun rakes across the wall. I hold a half-finished pendant up and watch how it throws shadows. A flat disc can look heavy; a slightly domed one catches a sliver of light and suddenly feels alive. So I shape by eye, not by ruler. A gentle curve of 2 mm brass tube becomes a hook for a small air plant, and the light does the rest.
The mistake here is designing on a screen. A photo flattens everything. You miss the way a matte finish swallows light or how a polished edge winks. Keep a scrap of black velvet nearby. Place your work on it and step back two feet. If it disappears, it's too small; if it glares, it's too shiny. Adjust until it sits in that quiet middle ground.
Make a jig from what you have
I once spent an hour trying to bend six identical loops for a necklace. Then I drove two 1-inch finishing nails into a scrap of pine, 3/4 inch apart, and wrapped wire around them. Suddenly every loop matched. A jig doesn't need to be fancy. A wooden clothespin, a dowel, a jar lid-anything with a consistent diameter can become a form. For a recent batch of napkin rings, I used a 1.5-inch PVC coupling. The rings came out uniform, and I finished in twenty minutes instead of two hours.
The mistake is over-engineering the jig. You don't need a drill press or a 3D printer. You need something that won't move while you pull. Clamp your jig to the table with a C-clamp or even a heavy book. Then wrap with steady tension. If your wire kinks, you're pulling too hard or the jig is slipping. Slow down. The metal will tell you when it's happy.
Finish the back as carefully as the front
A friend once gave me a pair of earrings she'd made. The front was a perfect spiral of copper. The back was a tangle of sharp ends. I wore them once. Now I file every wire end flush and run a bit of 400-grit sandpaper over the back before I call a piece done. It takes ninety seconds. It's the difference between jewelry and a craft-fair afterthought. For home decor, the same rule applies: sand the underside of a wooden coaster, paint the back of a sign. No one sees it, but everyone feels it.
The mistake is rushing the finish because you're excited to show someone. Put the piece down. Walk away for ten minutes. Come back and run your thumb along every edge. If it catches, file it. If it's rough, sand it. That small pause is where the quality lives.
Use a color story, not a color scheme
I keep a mood board of paint chips and fabric scraps above my desk. It's not a rigid palette. It's a conversation. Right now it's ochre, faded denim, and the green of a fig leaf. When I make a wall hanging, I pull threads that echo those tones. The result feels collected, not coordinated. A single strand of ochre in a sea of indigo is enough to make the eye travel. That's the kind of decor that makes a room feel lived in.
The mistake is matching everything. If your beads, your cord, and your frame are all the same shade, the piece goes flat. Add one odd element-a single white bead, a knot of black thread, a scrap of tarnished silver. Let it be slightly off. That's where the life is.
Store projects in plain sight
I used to tuck half-finished pieces into a drawer. Out of sight, out of mind. Now I leave them on a tray by the window. A loop of wire, a few stones, a needle mid-stitch. Seeing them in the morning light reminds me to sit down for ten minutes before the day starts. That tiny habit has finished more projects than any burst of inspiration. The tray becomes a still life, and the still life becomes an invitation.
The mistake is hiding your work because it's not perfect yet. Unfinished things are not failures. They're just waiting. Let them wait where you can see them. You'll be surprised how often your hand reaches for the wire while the coffee brews.
The Hacks, Step by Step
- 1Choose one material and stick with it
Pick a single metal, cord, or stone for a week. This constraint forces you to learn its properties and prevents supply overwhelm. - 2Build a simple jig from household items
Use nails in a board, a dowel, or a jar lid to create consistent loops or curves. Clamp it down so it doesn't shift while you work. - 3Test your design in natural light
Hold the piece against black velvet near a window in the late afternoon. Adjust size and finish until it reads clearly from two feet away. - 4File and sand every edge
Run a file and 400-grit sandpaper over all wire ends and rough spots. This ninety-second step makes the piece comfortable and professional. - 5Add one unexpected color or texture
Introduce a single contrasting bead, thread, or patina to a mostly monochrome piece. It creates visual interest without chaos. - 6Leave unfinished work on a tray
Keep current projects visible on a tray or shelf. Seeing them daily encourages short, frequent making sessions.
The quietest pieces—the ones with a filed edge and a single off-color bead—are the ones people reach for again and again.
Frequently Asked Questions
What is the best wire for beginners in DIY jewelry?
Start with 20-gauge brass or copper wire. It's soft enough to bend by hand but holds its shape, and it's inexpensive enough to practice without worry.
How do I make my DIY home decor look less homemade?
Focus on the finish: sand rough edges, paint the back, and add one contrasting element. Small details signal care and elevate the piece.
Can I make jewelry without expensive tools?
Yes. A pair of chain-nose pliers, a flush cutter, and a homemade jig from nails and a board are enough for most basic wire and bead projects.
How do I keep my craft supplies organized?
Use shallow trays or clear jars and keep only what you're currently using within arm's reach. Store the rest out of sight to reduce visual clutter.
What's a simple DIY decor project for a beginner?
Try a brass wire air-plant holder or a set of painted wooden coasters. Both require minimal tools and can be finished in under an hour.



Leave a Comment