
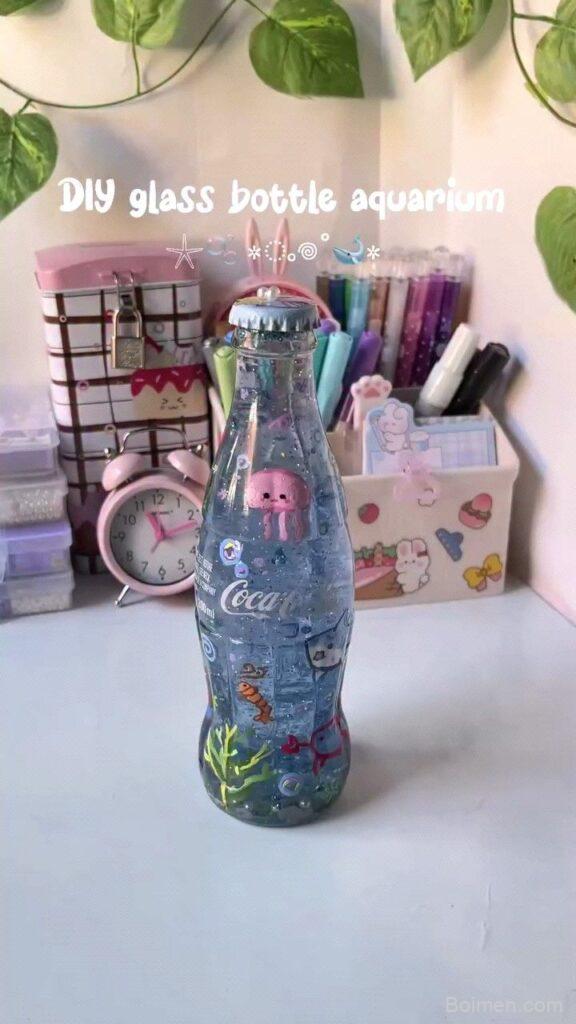
Most DIY bottle aquariums fail within weeks because of poor water flow and lighting—not bad luck. Here are seven specific, science-backed hacks to create a stable, beautiful micro-reef in a glass bottle.
Advertisements1
- A 1-gallon bottle is the minimum size for stability; larger is easier.
- Use live rock and sand to skip weeks of cycling.
- Stock with hardy invertebrates, not fish.
- Top off with RO/DI water, never tap or saltwater.
- Weekly 10% water changes prevent parameter swings.
Hack 1: Choose the Right Bottle and Prepare It Properly
Start with a clear glass bottle that holds at least 1 gallon (3.8 L)—smaller volumes swing in temperature and salinity too fast. A 1-gallon Carlo Rossi jug or a 2-liter soda bottle works, but avoid colored glass or narrow necks that trap gas. Clean it with a 50/50 vinegar-water soak for 24 hours, then rinse with dechlorinated water. Never use soap; residue kills invertebrates.
Why it works: A larger volume buffers changes, and vinegar dissolves mineral deposits without leaving toxins. The wide mouth allows you to fit a small heater and filter.
Common mistake: Using a bottle that previously held chemicals or alcohol. Even trace amounts can leach and crash your tank.
Hack 2: Build a DIY Filter with an Air Pump and Sponge
You don't need a $50 filter. Use a 10-gallon air pump ($10), airline tubing, and a small sponge filter (like the Azoo Aquarium Filter). Attach the sponge to the tubing, place it in the bottle, and run the pump. This creates gentle water flow and biological filtration.
Why it works: The sponge hosts beneficial bacteria that convert toxic ammonia into nitrate. The airlift also oxygenates the water.
Common mistake: Using an airstone without a sponge—it aerates but doesn't filter, leading to ammonia spikes. Also, don't bury the sponge in substrate; it needs water flow.
Hack 3: Light It with a Full-Spectrum LED on a Timer
Corals and macroalgae need light in the 400-700 nm range. Use a small full-spectrum LED (like the Asta 20 or a 10W plant grow bulb) positioned 4-6 inches above the bottle. Set a timer for 8-10 hours daily.
Why it works: Consistent photoperiod prevents algae blooms and supports photosynthesis in zooxanthellae. Too little light starves corals; too much fuels nuisance algae.
Common mistake: Leaving the light on 24/7. This stresses fish and corals and guarantees an algae takeover.
Hack 4: Use Live Rock and Sand from an Established Tank
Get 1-2 pounds of live rock and 1 inch of live sand from a local reef keeper or fish store. This introduces bacteria, copepods, and microfauna that jumpstart your nitrogen cycle.
Why it works: Live rock is porous and houses anaerobic bacteria that complete the nitrogen cycle. It also provides hiding spots for shrimp and crabs.
Common mistake: Using dry rock and expecting an instant cycle. It takes 4-6 weeks to cure; live rock cuts that to days.
Hack 5: Stock with Hardy Invertebrates, Not Fish
In a 1-gallon bottle, fish are almost impossible to keep humanely. Instead, add 2-3 dwarf cerith snails, 1 blue-legged hermit crab, and a small mushroom coral or zoanthid. These tolerate fluctuating parameters.
Why it works: Invertebrates have a lower bioload and are more forgiving of temperature and salinity swings. They also clean algae.
Common mistake: Adding a fish like a clownfish. It will produce too much waste and likely die from ammonia poisoning.
Hack 6: Top Off with RO/DI Water, Not Tap
Evaporation leaves salt behind, raising salinity. Top off daily with reverse osmosis/deionized (RO/DI) water to maintain a specific gravity of 1.024-1.026. Use a refractometer, not a hydrometer, for accuracy.
Why it works: RO/DI water has no minerals or chlorine, so it dilutes salt without adding contaminants. A refractometer reads to 0.001, while swing-arm hydrometers can be off by 0.003.
Common mistake: Topping off with saltwater. This increases salinity and stresses livestock.
Hack 7: Do Weekly 10% Water Changes with a Turkey Baster
Siphon out 10% of the water (about 12 oz for a 1-gallon) using a turkey baster, then replace with fresh saltwater at the same temperature and salinity. This removes detritus and replenishes trace elements.
Why it works: Small, frequent changes stabilize parameters without shocking inhabitants. A turkey baster lets you target debris without disturbing the sand bed.
Common mistake: Doing a 50% change to "fix" a problem. Large swings in alkalinity and pH can kill corals.
The Hacks, Step by Step
- 1Gather Your Supplies
You'll need: a 1-gallon glass bottle, air pump, sponge filter, airline tubing, full-spectrum LED, timer, live rock, live sand, refractometer, RO/DI water, marine salt, and a turkey baster. Total cost: $60-$80. - 2Clean and Set Up the Bottle
Soak the bottle in vinegar water for 24 hours, rinse with dechlorinated water, then add live sand and live rock. Fill with saltwater mixed to 1.025 specific gravity. - 3Install the Filter and Light
Attach the sponge filter to the air pump and place it in the bottle. Position the LED 4-6 inches above and set the timer for 8-10 hours daily. - 4Cycle the Tank
Wait 2-4 weeks for the nitrogen cycle to establish. Test for ammonia and nitrite; when both read 0, add a small cleanup crew. - 5Add Invertebrates Gradually
Introduce 2-3 snails and 1 hermit crab. Wait a week, then add a mushroom coral. Acclimate all livestock by drip method for 45 minutes. - 6Maintain Weekly
Top off with RO/DI water daily. Do a 10% water change weekly. Test salinity, temperature (78°F), and pH (8.1-8.4) every few days.
The biggest mistake is treating a bottle aquarium like a fish tank—it's a reef tank in miniature, and invertebrates are your best bet.
Frequently Asked Questions
Can I keep a fish in a 1-gallon glass bottle aquarium?
No, a 1-gallon bottle is too small for any fish. Fish produce too much waste, and the water parameters swing too quickly. Stick to hardy invertebrates like snails, hermit crabs, and mushroom corals.
How often should I change the water in a DIY bottle aquarium?
Do a 10% water change weekly. This removes detritus and replenishes trace elements without causing stress from large parameter shifts.
Do I need a filter for a bottle aquarium?
Yes, a small sponge filter driven by an air pump is essential. It provides biological filtration and water movement, which keeps ammonia and nitrite at zero.
What lighting does a bottle aquarium need?
Use a full-spectrum LED on a timer for 8-10 hours daily. This supports photosynthesis in corals and macroalgae without fueling nuisance algae.
How long does it take to cycle a DIY bottle aquarium?
With live rock and live sand, cycling takes 2-4 weeks. Test for ammonia and nitrite; when both are zero, it's safe to add livestock.



Leave a Comment