
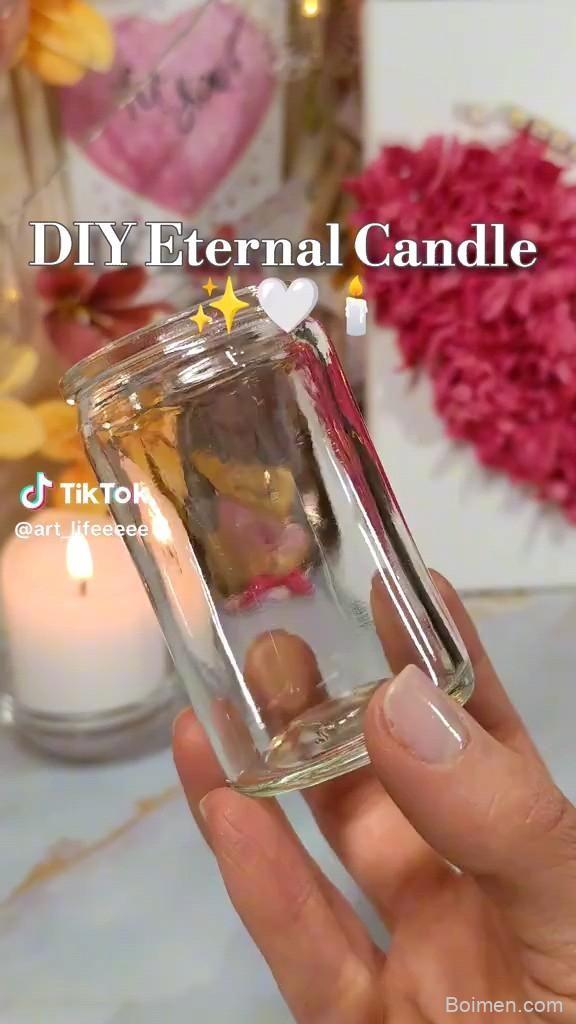
Ever wished your favorite candle would burn forever? With a few clever tricks and a bit of crafty magic, you can create a DIY eternal candle that glows night after night. Here are seven hacks to make it happen—no wick-trimming required.
Advertisements1
- Olive oil and water candles can burn for days if you maintain the oil level and use a proper cotton wick.
- Beeswax blended with coconut oil burns up to 50% longer than standard paraffin candles.
- LED inserts inside real wax pillars give you the look of a real candle without the fire risk.
- Salt in oil candles acts as a wick stabilizer and slows fuel consumption for a longer burn.
- Upcycling crayons into candles is a fun, eco-friendly way to create long-lasting light.
- Always anchor your wick to the container's bottom to prevent it from drowning in wax or oil.
Hack 1: The LED Insert Swap
Grab a flameless LED candle (the kind with a realistic flicker) and carefully remove the plastic flame piece. Then, hollow out the top of a real wax pillar candle using a melon baller or spoon, creating a cavity just deep enough to fit the LED unit. Secure it with a dab of hot glue around the rim. Why it works: the wax shell retains the authentic look and scent of a real candle, while the LED provides a safe, endless glow. Common mistake: don't hollow too deep—if the LED sits below the wax rim, the light gets swallowed and looks dim. Aim for the LED tip to sit 1/8 inch above the wax surface.
Hack 2: The Olive Oil & Water Trick
This is the classic trick you've seen on Pinterest: pour equal parts olive oil and water into a clear glass jar, then float a homemade wick made from a cotton string tied to a small washer or a piece of cork. Light the wick, and it will burn for hours—sometimes days—because the oil feeds the flame while the water keeps the oil level high and the glass cool. Why it works: oil is the fuel, water is the safety layer that prevents overheating. Common mistake: using a wick that's too short or too thick. A 100% cotton wick (like butcher's twine) about 3 inches long works best; synthetic strings melt and smell awful.
Hack 3: The Beeswax & Coconut Oil Blend
If you want a real flame that lasts longer than standard paraffin, make your own eternal-style candle by blending 1 part beeswax with 1 part coconut oil (by weight). Beeswax has a higher melting point, so it burns slower, and coconut oil lowers the melting point just enough to keep the wick lit evenly. Melt them in a double boiler, add a cotton wick, and pour into a jar. Why it works: this combo creates a candle that burns up to 50% longer than pure paraffin. Common mistake: not anchoring the wick. Use a wick sticker or a dab of hot glue to secure the wick tab to the bottom of the jar—otherwise it floats up and drowns in the wax.
Hack 4: The Salt & Oil Votive
Create a long-burning votive by filling a small glass with 1 inch of table salt, then pouring in a mixture of 2 parts vegetable oil and 1 part water until the salt is just covered. Insert a short cotton wick (1.5 inches) into the salt, leaving 1/2 inch exposed. Light it. Why it works: the salt acts as a wick holder and slows the oil's capillary action, making the flame burn steadily for up to 12 hours. Common mistake: using too much water. If the water layer is more than 1/4 inch, the wick won't draw enough oil and the flame will sputter out.
Hack 5: The Crayon & Wick Upcycle
Don't toss broken crayons—turn them into eternal candles! Peel the paper off 8-10 crayons (any color) and chop them into small pieces. Melt them in a double boiler with 2 tablespoons of coconut oil. While melting, secure a wick to the bottom of a clean tin can or glass jar. Pour the melted crayon mixture into the container and let it set for 2 hours. Why it works: crayons are made of paraffin wax, which burns slowly, and the coconut oil helps them burn cleaner. Common mistake: using too many dark crayons—they can clog the wick. Stick to lighter colors or mix with white crayons for best results.
Hack 6: The Battery-Powered Tealight Hack
Take a standard battery-operated tealight (the kind with a plastic flame) and upgrade it for a more realistic look. Remove the plastic flame and replace it with a small piece of real wax shaped like a flame. You can make this by melting a bit of candle wax and molding it around the LED bulb. Why it works: the wax diffuses the LED light, creating a warm, flickering glow that looks just like a real flame. Common mistake: covering the LED completely—leave a tiny gap for heat to escape, or the LED may overheat and burn out.
Hack 7: The Tin Can Lantern Candle
Upcycle a clean tin can into a rustic eternal candle. Fill the can with water and freeze it solid (this prevents the can from denting). Use a hammer and nail to punch a pattern of holes around the sides. Let the ice melt, then dry the can. Place a small candle or tea light inside—or better, fill the can with olive oil and a floating wick. Why it works: the holes create a beautiful starry glow, and the metal conducts heat away from the flame, making the candle last longer. Common mistake: punching holes too high—keep them in the lower half so the flame illuminates the pattern.
The Hacks, Step by Step
- 1Choose your eternal method
Decide between a real flame (oil-based) or flameless (LED). Real flames need more supervision but offer authenticity; LED is safe and mess-free. - 2Gather materials
For oil candles: olive oil, water, cotton wick, glass jar. For LED: flameless candle, wax pillar, hot glue. For beeswax: beeswax, coconut oil, wick, jar. - 3Prepare the container
Clean and dry your jar or can. Ensure the wick is secured to the bottom with glue or a sticker to prevent floating. - 4Assemble the candle
Follow the specific hack instructions. For oil candles, layer oil and water. For wax, melt and pour. For LED, insert and secure. - 5Test and adjust
Light it in a safe, draft-free spot. Observe flame height and steadiness. Trim wick if needed, or adjust oil level. - 6Make it last
For oil candles, top off with oil and water as needed. For wax, add more wax after cooling. For LED, replace batteries.
The secret to an eternal candle isn't magic—it's understanding the science of fuel, wick, and oxygen, then tweaking the ratio until the flame finds its rhythm.
Frequently Asked Questions
How long can a DIY eternal candle actually burn?
With the olive oil and water method, you can get 24-48 hours of continuous burn if you refill the oil. LED versions can last for months on a single set of batteries, depending on usage.
Is it safe to leave a DIY eternal candle unattended?
Never leave any open flame unattended. Even oil candles can be hazardous if knocked over. LED candles are safe to leave unattended, but always follow the manufacturer's instructions.
What kind of wick works best for oil candles?
100% cotton wicks, like butcher's twine or proper candle wicks, work best. They draw oil efficiently and burn cleanly. Avoid synthetic materials, which can melt and release toxic fumes.
Can I add scent to my DIY eternal candle?
Yes, for oil candles, add a few drops of essential oil to the oil layer. For wax candles, use candle fragrance oil (not essential oil, which can evaporate). Add scent at the end to preserve it.
Why does my oil candle keep going out?
The most common reasons are a wick that's too short, too much water in the mixture, or a draft. Ensure the wick extends at least 1/2 inch above the oil and that the water layer is no more than 1/4 inch.



Leave a Comment