
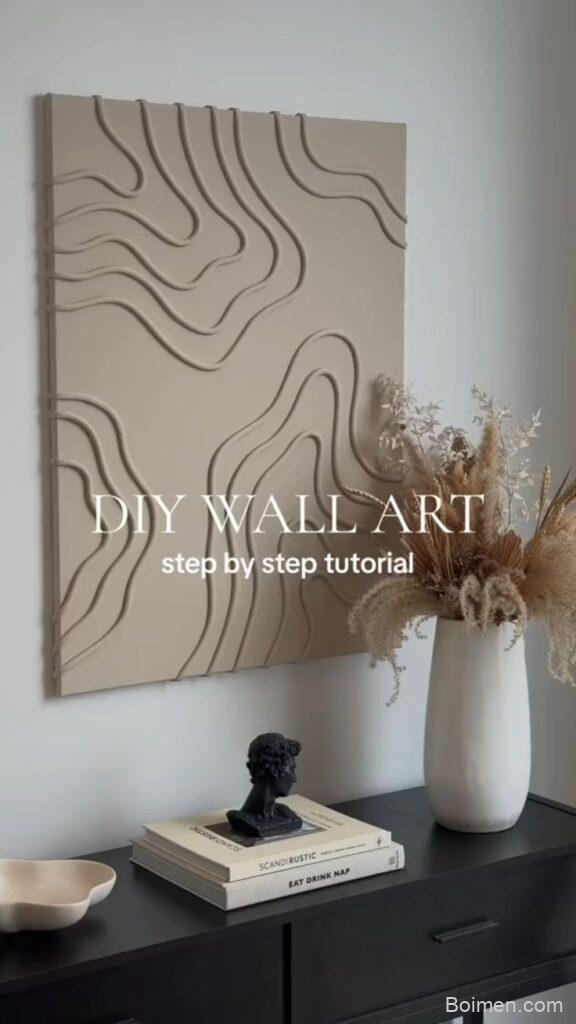
I turned a blank wall into a gallery for under $30 using these DIY canvas wall art hacks. You don't need to be an artist—just a few simple tricks and a free afternoon.
Advertisements1
- A hairdryer on low heat can cut paint drying time by 80%.
- Joint compound adds expensive-looking texture for just $5.
- Painter's tape removed while paint is tacky gives crisp lines.
- Repurposing fabric or wallpaper creates art in under 10 minutes.
- Always seal your canvas with Mod Podge to prevent fading and damage.
Hack 1: Use a Hairdryer to Speed Up Acrylic Paint Drying
I'm impatient, so waiting for paint to dry drives me crazy. One day, I grabbed my hairdryer on a low heat setting and gently waved it over my canvas. It cut drying time from 30 minutes to about 5. The key is to keep the dryer moving and at least 12 inches away—otherwise, the paint can bubble or crack. This works because warm air accelerates evaporation without disturbing the paint's surface. I've used this trick on dozens of canvases, and it's a game-changer for layering colors quickly. Just don't use high heat or hold it too close; I learned that the hard way when a blob of paint splattered.
Hack 2: Create Texture with Joint Compound for a High-End Look
I wanted that expensive textured art look but didn't want to pay $200. So I bought a $5 tub of joint compound (drywall mud) and slathered it on a canvas with a palette knife. Once dry, I painted over it with acrylics. The compound adds dimension and mimics the look of plaster art. A common mistake is applying it too thick—it can crack as it dries. I keep it under 1/4 inch and build in layers. Also, seal it with a matte varnish to prevent dust. My friends thought I bought it from a boutique!
Hack 3: Use Painter's Tape for Crisp Geometric Designs
If you're not confident with freehand lines, painter's tape is your best friend. I map out a pattern, stick the tape down firmly, and paint over the whole canvas. Once the paint is tacky (not fully dry), I slowly peel off the tape to reveal sharp edges. The trick is to remove the tape while the paint is still slightly wet—if it's completely dry, it can tear. Also, press the tape edges down with your fingernail to prevent bleed. I made a chevron pattern in 20 minutes, and it looks professionally done.
Hack 4: Repurpose Old Fabric or Wallpaper for Instant Art
I had leftover fabric from a sewing project and decided to wrap it around a canvas. It took 10 minutes and zero painting. Use a staple gun to secure the fabric to the back of the canvas, pulling tight as you go. This works for any patterned material—vintage scarves, wallpaper samples, even tea towels. The mistake? Not ironing the fabric first. Wrinkles will show through. I iron on low heat before stapling. Now I have a custom piece that matches my couch perfectly.
Hack 5: Add Dimension with 3D Objects Like Buttons or Beads
For a mixed-media look, I glue small objects onto the canvas. I've used buttons, beads, even broken jewelry. Use strong adhesive like E6000. This adds texture and catches the light. But don't go overboard—a few focal points are enough. I once covered an entire canvas with buttons, and it looked cluttered. Now I cluster them in one corner. Also, make sure the objects aren't too heavy, or they'll pull off the canvas. This is a great way to use up craft stash.
Hack 6: Use a Projector to Trace Complicated Designs
I'm not great at drawing, but I can trace. I borrowed a friend's projector, projected an image onto the canvas, and traced it with a pencil. Then I painted. This opens up endless possibilities—favorite quotes, intricate patterns, pet portraits. The mistake is not adjusting for the room's lighting; if the room is too bright, the projection is faint. I close the blinds and do it at night. Also, use a fine-tip pencil so lines don't show through paint. It's like having a cheat code for art.
Hack 7: Seal Your Art with Mod Podge for Protection
After all that work, you want your art to last. I brush on a coat of Mod Podge (matte or gloss) to seal and protect it. This prevents fading and dust. Use a soft brush and apply in thin, even strokes. The mistake is using too much—it can leave streaks or reactivate water-based paints. I do two thin coats, letting each dry for 20 minutes. It also gives a nice finish. I've had canvases last years without yellowing.
The Hacks, Step by Step
- 1Gather Your Supplies
You'll need canvases (I get mine at dollar stores), acrylic paint, brushes, painter's tape, and a sealant like Mod Podge. Total cost: under $20. - 2Prep Your Workspace
Cover your table with newspaper or a plastic drop cloth. I use a cardboard box—it's free and easy to toss. - 3Start with a Base Coat
Paint the entire canvas with a solid color. This covers the white and makes colors pop. Let it dry completely (use the hairdryer trick). - 4Add Your Design
Use tape, stencils, or freehand. Work in layers, letting each dry. Don't rush—it's about progress, not perfection. - 5Seal and Display
Once done, seal with Mod Podge. Let it cure for 24 hours, then hang. Step back and admire your work!
The best art is the art you make yourself—imperfections and all.
Frequently Asked Questions
What kind of paint is best for canvas wall art?
Acrylic paint is the best for beginners because it's versatile, dries quickly, and can be layered. It also works on various surfaces and is affordable.
How do I prevent my canvas from warping?
To prevent warping, avoid soaking the canvas with too much water or paint. Use acrylics rather than oils, and seal the back with a coat of gesso or Mod Podge.
Can I use regular craft paint on canvas?
Yes, regular craft acrylic paint works fine on canvas, but it may be thinner. For better coverage, use artist-grade acrylics or apply multiple coats.
How do I hang a canvas without nails?
Use adhesive strips like Command strips. They hold up to 16 pounds and remove cleanly. Make sure the wall is clean and dry before applying.



Leave a Comment