
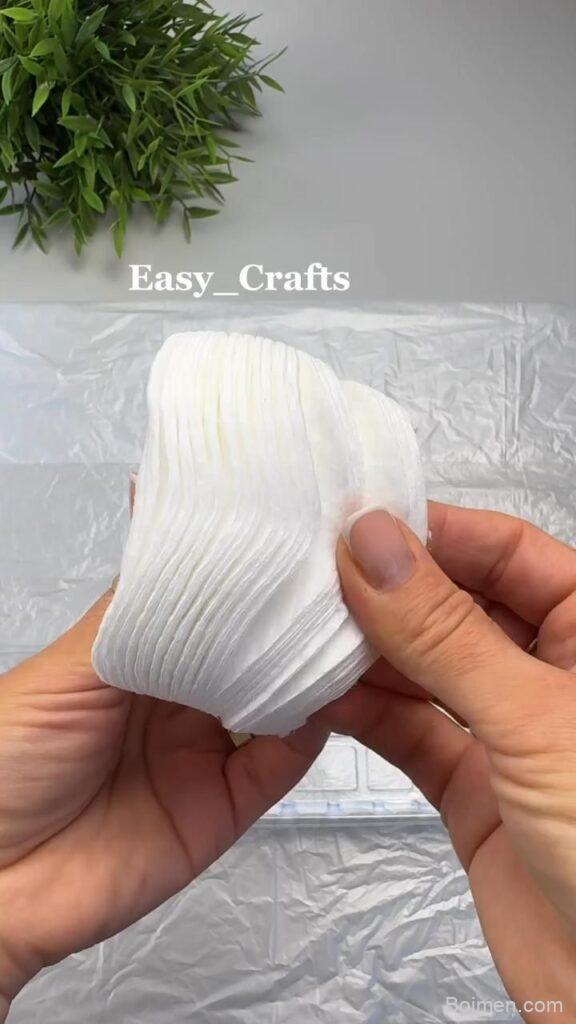
Ever looked at a plain paper napkin and thought, 'That could be a tiny blue flower for my doll'? You're not alone—and it's easier than you think. In this guide, I'll show you exactly how to turn ordinary napkins into charming blue flowers for doll-sized crafts, with step-by-step hacks that actually work.
Advertisements1
- Use single-ply napkin layers for realistic, delicate petals—separate the plies first.
- Layer petals of different sizes and curl the edges to add depth and dimension.
- Seal with a 50/50 glue-water mix to stiffen and protect the flower without making it stiff.
- Scale matters: the flower should be no wider than the doll's eye for a natural look.
- Attach with removable adhesive if you want to change the doll's look often.
- Test napkin colorfastness with a drop of water before crafting to avoid dye transfer.
Why Napkins Are the Secret Weapon for Doll-Sized Flowers
Paper napkins are like the Swiss Army knife of crafting—cheap, plentiful, and surprisingly versatile. They come in layers (usually 2 or 3 plies), which means you can separate them to get ultra-thin sheets perfect for delicate petals. Unlike tissue paper, napkins have a slight texture that mimics natural petals, and they hold a fold beautifully. Plus, they're absorbent, so when you add a touch of glue or paint, they soak it up without getting soggy. For doll crafts, where scale is everything, napkins let you create flowers that are just the right size—around 1 to 2 inches across. I've used this trick for years, and it never fails to impress.
The 5-Minute Hack: No-Sew Blue Napkin Flower
This is the quickest method I know, and it's perfect for beginners. You'll need: one blue paper napkin, a pair of small scissors, a glue stick or white craft glue, and a toothpick or thin wire for the stem. First, separate the napkin layers—you only need one ply. Fold it in half diagonally to form a triangle, then fold again to make a smaller triangle. Now, cut the open edges into a rounded shape, like a petal. Unfold, and you'll have a rough flower shape. If it's not perfect, don't worry—nature isn't either.
Layered Petals for Realistic Blooms
If you want a flower that looks like it was plucked from a miniature garden, layering is your friend. This technique takes a bit more time but yields stunning results. Start by cutting multiple petal shapes from different plies of the napkin. For a rose-like bloom, cut 5-7 petals in varying sizes. Then, using a small paintbrush or your finger, curl the edges of each petal slightly by rolling them around a toothpick. This gives them a natural curve.
How to Make the Flower Last: Sealing and Stiffening
Paper napkin flowers are delicate—they can wilt if handled roughly or if they get wet. But you can make them durable with a simple sealant. I use a 50/50 mix of white glue and water, brushed on lightly with a soft brush. This stiffens the petals and makes them slightly water-resistant. Let it dry completely—about 20 minutes—before attaching to your doll's hair or clothing. Another option is clear acrylic spray, but do that outdoors and in a well-ventilated area. The glue method is safer for indoor crafters.
Attaching the Flower to Your Doll: Practical Tips
Now that you have a beautiful blue flower, how do you attach it to your doll? The method depends on the doll's material and where you want the flower. For hair, a small piece of double-sided tape or a dot of glue works, but if you want it removable, use a tiny piece of sticky tack (like Blu Tack). For clothing, sew a few stitches through the flower's base—this is the most secure. If the doll has a fabric headband, you can glue the flower directly onto it.
The Hacks, Step by Step
- 1Separate the Napkin Layers
Peel apart the plies of your blue napkin. You only need one thin layer for each flower. This makes the petals delicate and easy to shape. Why: Thinner layers fold and curl more naturally, mimicking real petals. - 2Cut Petal Shapes
Fold the single ply in half twice, then cut a rounded or pointed shape along the open edge. Unfold to reveal a flower. Why: This creates symmetrical petals without a template. Mistake: Cutting too small—aim for a flower that's 1-2 inches across. - 3Shape the Petals
Use a toothpick to curl the edges of each petal by rolling them gently. Why: Curling adds dimension and realism. Mistake: Curling too tightly, which can tear the napkin. Be gentle. - 4Layer and Glue
Stack 3-5 petals of decreasing size, gluing only at the center. Why: Layering creates depth. Mistake: Using too much glue, which makes the flower stiff and shiny. Use a tiny dot. - 5Add a Stem
Wrap the base of the flower around a toothpick or wire, securing with glue. Why: This gives you a handle to attach the flower to the doll. Mistake: Making the stem too thick; it should be proportional to the flower. - 6Seal the Flower
Brush a 50/50 mix of white glue and water over the petals. Let dry. Why: This stiffens and protects the delicate paper. Mistake: Soaking the flower; apply a thin coat. - 7Attach to Doll
Use double-sided tape, sticky tack, or a few stitches to secure the flower to the doll's hair or clothing. Why: This ensures it stays put without damaging the doll. Mistake: Using super glue, which can ruin fabric and skin.
The secret to a lifelike napkin flower isn't in the materials—it's in the layering and a light touch with glue.
Frequently Asked Questions
What kind of napkins work best for making doll flowers?
Plain, unembossed, 2-ply napkins in a solid color work best. They separate easily and hold a fold without tearing. Avoid napkins with heavy embossing or patterns that only appear on the edges.
How do I keep the napkin flower from falling apart?
Seal the flower with a mixture of equal parts white glue and water, brushed on lightly. This stiffens the paper and makes it more durable. Also, use minimal glue when assembling to avoid stiffness.
Can I make these flowers with kids?
Yes, this is a great craft for kids aged 8 and up with adult supervision. Younger children can help with folding and fluffing, while adults handle the cutting and gluing. Just avoid sharp scissors for little ones.
How do I attach the flower to my doll without damaging it?
Use removable adhesive like sticky tack or double-sided tape for temporary wear. For a permanent hold, sew a few stitches through the flower's base into the doll's clothing or hair. Avoid super glue, which can damage doll hair and fabric.
Can I use this method to make other colors of flowers?
Absolutely! The technique works with any color napkin. For multi-colored flowers, you can layer different colored petals or paint the edges with a bit of watercolor. Just test for colorfastness first.



Leave a Comment