
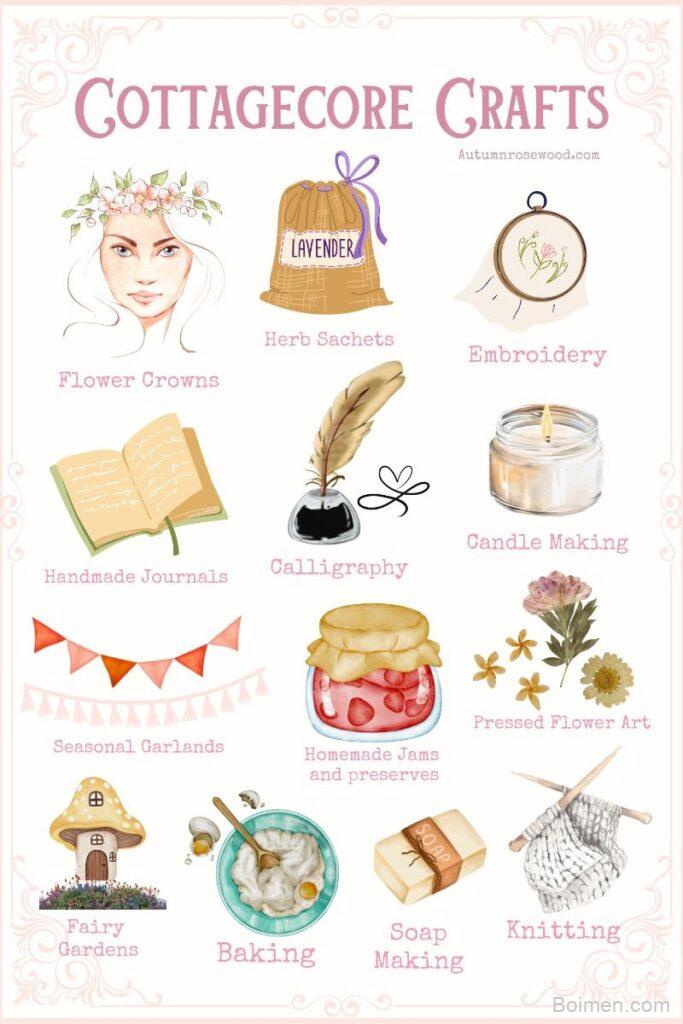
Picture a rainy Saturday, a mug of tea going cold beside you, and a half-finished embroidery hoop you actually want to pick back up. These seven cottagecore craft ideas are the ones I return to again and again — each one cheap to start, forgiving of mistakes, and genuinely useful when it's done.
Advertisements1
- Pressed flowers need absorbent paper, not glossy magazine pages — moisture is what ruins them, not the pressing itself.
- Boro mending makes a repair stronger than the original cloth by spreading strain across a stitched patch.
- Beeswax wraps only work on 100% natural fibres; do a burn test before you melt wax on a blend.
- Soy candles need 48 hours of curing after pouring, or the fragrance won't carry when you burn them.
- Match your thread fibre to your fabric fibre — polyester thread saws through cotton over time.
- A five-minute nature journal page beats a perfect specimen you never get around to drawing.
Why Cottagecore Crafts Reward the Impatient Beginner
Cottagecore crafts share one quiet secret: they're built on slow, repetitive handwork — running stitch, blanket stitch, hand-sewing, pressing flowers. That repetition is the point. A 20-minute session of cross-stitching at roughly 30 stitches a minute gives your hands something to do while your brain untangles, which is why so many people describe these crafts as meditative rather than productive.
The trap is treating cottagecore like a shopping list. You do not need a £90 linen apron kit or a vintage brass thimble to begin. My first herb-drying bundle was tied with supermarket twine and hung from a kitchen cabinet handle for 12 days — and it worked beautifully. Start with what's in your kitchen drawer, then upgrade only the tool you actually use.
Think of these projects like sourdough starter: the first attempt is lumpy and imperfect, and that's exactly how it should be. Your messy first draft is the raw material, not the final product.
1. Pressed-Flower Bookmark (Start Here, 20 Minutes)
Pick three small flat flowers — violas, forget-me-nots, or single daisy petals work best — and lay them between two sheets of blotting paper inside a heavy book. Leave them for 10 to 14 days; thin petals dry faster than fleshy ones like rosebuds, which can take three weeks and may brown.
Once dry, arrange them on a 5cm × 15cm strip of cardstock, brush on a thin layer of Mod Podge with a soft brush, and seal with a second coat after 30 minutes. The glue acts as both adhesive and varnish, so the petals don't crumble when the bookmark slides between pages.
Common mistake: pressing flowers straight into a glossy magazine. The coated paper traps moisture and you'll get mould before you get art. Always use absorbent paper — blotting paper, coffee filters, or plain newsprint.
2. Visible-Mending a Worn Shirt (The Japanese Boro Approach)
Boro is the Japanese tradition of patching and re-patching textiles until the mending becomes the design. Grab a shirt with a hole or thin elbow, a scrap of contrasting fabric at least 2cm larger than the damage on every side, and sashiko thread (or two strands of embroidery floss).
Pin the patch behind the hole, then work rows of running stitch about 5mm apart across the whole patch, catching the shirt fabric each time. A 10cm × 10cm patch takes roughly 45 minutes at a relaxed pace. The dense stitching distributes strain across the patch instead of the torn edge, which is why boro garments survive for decades — the repair is structurally stronger than the original cloth.
Common mistake: using polyester thread on cotton fabric. It's stronger than the cloth, so it saws through the garment over time. Match your thread fibre to your fabric fibre and let the patch flex with the shirt.
3. Beeswax Food Wraps (One Pan, 15 Minutes)
Cut a 25cm square of 100% cotton fabric — quilting cotton or an old pillowcase works — and grate 15g of beeswax plus 5g of pine resin if you want extra tack. Sprinkle the shavings evenly across the cloth on a baking tray lined with parchment, and melt in a 90°C oven for 6 to 8 minutes until glossy.
Lift it out with tongs and hang it by one corner for 60 seconds; it sets as it cools. One wrap replaces roughly 200 metres of cling film over its lifetime, and you can refresh a tired wrap by re-melting it in the oven.
Common mistake: using fabric with a printed plastic coating or a poly-cotton blend. The wax won't absorb and it'll flake off in sheets. Do the burn test — pure cotton ashes to grey powder, blends leave a hard black bead.
4. Herb-Drying Bundle From a Supermarket Bunch
Take a supermarket bunch of thyme, rosemary, or oregano, strip the bottom 5cm of leaves, and tie the stems tightly with twine. Hang upside down somewhere warm, dry, and out of direct sun — above a kitchen cupboard is ideal — for 10 to 14 days. You'll know it's ready when a leaf crumbles to dust between your fingers rather than bending.
The upside-down hanging matters: it uses gravity to draw oils down into the leaves as they dry, which is why hung herbs keep noticeably more aroma than oven-dried ones. Store the crumbled leaves in a labelled jar away from the stove; heat and light are what flatten flavour.
Common mistake: tying the bundle too loosely. Stems shrink by around 30% as they dry, and a loose bundle drops onto your counter by day five. Use a doubled length of twine and check the knot after 48 hours.
5. A Foraged Wreath That Survives the Month
Build on a 25cm grapevine or willow base — buy one or make one from soaked willow whips. Gather three textures rather than three colours: something spiky (rosemary or bay), something soft (dried lavender or bunny tails), and something structural (dried orange slices or seed pods). Wire small bunches on in one direction only, overlapping each by half, so the wreath reads as a single sweep.
Dried orange slices are the workhorse here: slice a orange to 5mm, pat dry, and bake at 90°C for 3 to 4 hours, flipping halfway. They hold colour for months and give the wreath its cottagecore anchor.
Common mistake: mixing fresh greenery with dried elements. Fresh eucalyptus droops and moulds against dried flowers within a week. Either dry everything first or commit to a fully fresh wreath you remake monthly.
6. Hand-Poured Soy Candle in a Teacup
Melt 150g of soy wax flakes in a heatproof jug set in a pan of simmering water — never over direct heat. Add 15ml of fragrance oil at around 70°C (roughly 10% load, which gives a strong throw in a small vessel), stir gently for two minutes, and pour into a teacup with a wick centred and held by a pencil across the rim.
Soy wax is the beginner's friend because it sets at room temperature in about 45 minutes and cleans up with warm soapy water. Let it cure for 48 hours before burning — this is the step everyone skips and it's the one that determines whether your candle actually smells of anything.
Common mistake: pouring too hot. Above 80°C the wax can bloom with a white frost and the fragrance burns off before it sets. Use a thermometer; a £5 kitchen one is genuinely enough.
7. A Five-Minute Nature Journal Page
This is the cottagecore craft for people who insist they can't draw. Take an A6 notebook, a fine-liner, and one leaf. Draw the leaf's outline in 60 seconds without lifting your pen, then write three observations beside it — the vein pattern, the smell, where you found it. That's the whole page.
Nature journalling works because it converts attention into a record. Ten minutes in the garden becomes a page you'll still enjoy in three years, and the drawing improves as a side effect rather than a requirement. Date every page; the sequence becomes the reward.
Common mistake: waiting for a 'good' subject. The dandelion in the pavement crack is a better journal page than the perfect pressed specimen you keep postponing.
The Hacks, Step by Step
- 1Pick one project, not five
Choose the bookmark if you want a 20-minute win, or the boro patch if you have a garment waiting. Starting five crafts at once means finishing none. - 2Raid the kitchen before the craft shop
Twine, coffee filters, a thermometer, an old pillowcase, and a teacup cover four of these seven projects. Buy only the one specialist item you lack. - 3Set a 20-minute timer
Cottagecore crafts are repetitive by design. A timer gives you permission to stop mid-stitch without guilt and makes the session feel like a ritual rather than a task. - 4Keep a mistakes jar
Literally. Drop failed petals, snapped thread, and wonky patches into a jar. It's a visual record of attempts, and attempts are the whole point. - 5Label everything with a date
Write the date on the back of the bookmark, the jar of herbs, the journal page. Dated objects become a diary you didn't mean to keep. - 6Photograph in daylight, not flash
North-facing window, no overhead light. Cottagecore textures — linen, wax, dried petals — go flat and grey under flash.
Cottagecore isn't about buying a rustic aesthetic — it's about the quiet confidence of making one small, useful thing with your own hands.
Frequently Asked Questions
What are easy cottagecore crafts for beginners?
Pressed-flower bookmarks, herb-drying bundles, and nature journal pages are the easiest entry points because they need no specialist tools and finish in under a week. Start with the bookmark if you want a result in 20 minutes.
How do you press flowers without a flower press?
Layer them between two sheets of blotting paper or coffee filters inside a heavy book, and leave them 10 to 14 days. Absorbent paper is the key — glossy magazine pages trap moisture and cause mould.
What is boro mending?
Boro is a Japanese tradition of patching and re-patching worn textiles with dense running stitches until the repair becomes the design. The stitching spreads strain across the patch, making it stronger than the original fabric.
Can you make beeswax wraps with any fabric?
No — you need 100% cotton or linen. Poly-cotton blends and printed plastic coatings stop the wax absorbing, so it flakes off. Do a burn test: pure cotton ashes to grey powder.
Why does my homemade candle have no scent?
Almost always because it wasn't cured long enough or the fragrance was added too hot. Add oil at around 70°C and let the candle rest 48 hours before burning.



Leave a Comment