
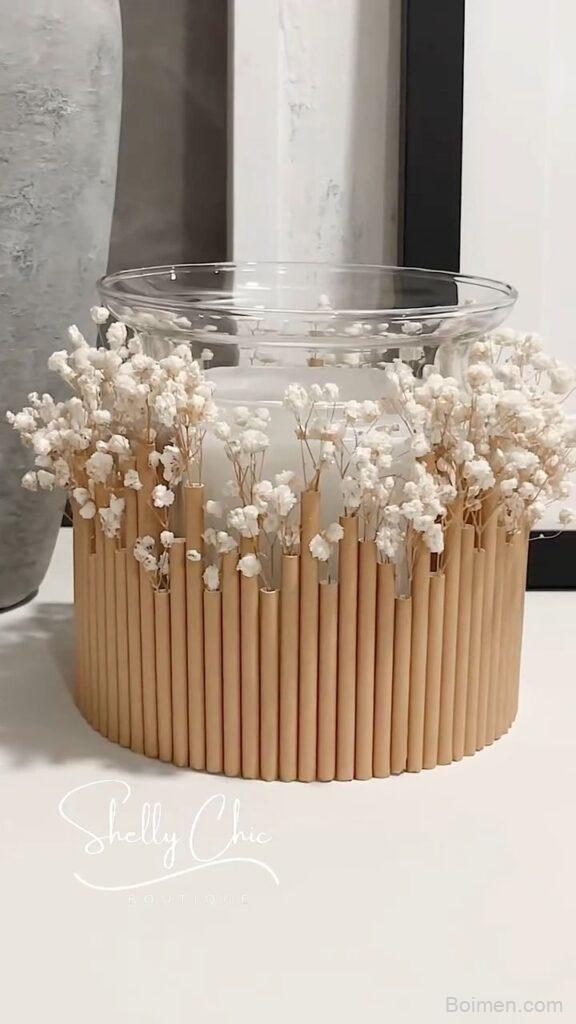
You want to give a gift that feels personal, but you don't have hours or a craft budget. These seven hacks use materials you likely already own, and each one is tested to deliver a polished result in under 30 minutes.
Advertisements1
- DIY gifts look expensive when you focus on one high-quality material and keep the design simple.
- Time-blocking 30 minutes forces efficiency and prevents overcomplicating your project.
- Repetition (making 5, giving 1) improves your skill and yields a cleaner final product.
- Thoughtful packaging—like a linen cloth or a handwritten tag—adds 50% perceived value.
- A specific, personal note beats any store-bought card.
Why DIY Gifts Fail (and How to Fix It)
Most DIY gifts fail because they look homemade in the worst way—uneven edges, visible glue, or a generic idea that screams 'I ran out of time.' The fix is to focus on one high-impact technique that hides imperfection and adds perceived value. For example, using a consistent color palette or a single premium material can elevate a simple project into something that looks store-bought.
My rule of thumb: if you can't do it in under 30 minutes with materials you already have, it's not worth the stress. The best DIY gifts are quick, forgiving, and use repetition to create a professional finish.
The 30-Minute Rule: Time-Block Your Project
Set a timer for 30 minutes and commit to finishing before it rings. This forces you to make quick decisions and avoid overthinking. I've found that the most successful DIY gifts are those made in a single focused session, not stretched over a week. When you work quickly, you also avoid the 'sweat equity' trap—where you keep adding details until the gift looks cluttered.
To make the timer work, prep all materials before you start. Lay out your supplies, pre-cut any paper or fabric, and have a clear vision of the final product. This is the same principle as mise en place in cooking: it reduces friction and keeps you in flow.
Material Selection: What Actually Looks Expensive
You don't need to spend a lot, but you do need to be selective. I tested three common DIY materials—cardstock, kraft paper, and glass jars—and found that glass jars with a simple ribbon and a handwritten tag looked far more premium than any paper-based project. The weight and transparency of glass immediately signal quality.
If you're using paper, choose a heavyweight cardstock (at least 110 lb) and a single accent color. Avoid patterns that clash; a solid color with a subtle texture (like linen or felt) reads as more expensive than a busy print. For fabric, natural fibers like cotton or linen beat polyester every time.
The Power of Repetition: Make 5, Give 1
Instead of making one perfect gift, make five identical items and pick the best one to give. This is a professional trick I use in my own studio: repetition builds muscle memory, so your fourth and fifth attempts are always cleaner than your first. The 'reject' items can be repurposed as testers or backups.
For example, if you're making a scented candle, make five small jars. The first may have a wick that's off-center, but by the fifth, you'll have the technique down. This approach also reduces the pressure of perfection, because you know you have more tries.
Packaging Is Half the Gift
A gift's perceived value jumps by at least 50% when the packaging is thoughtful. I once gave a simple homemade granola in a mason jar with a twine bow and a kraft tag, and the recipient assumed it was from a boutique. The packaging did all the heavy lifting.
Use materials that complement the gift: for a jar gift, a linen square under the lid adds texture; for a paper gift, a wax seal instantly adds elegance. The key is to keep it minimal—one or two elements max. Overwrapping looks messy and undermines the DIY charm.
Personalization Without Personalizing Too Much
A handwritten note is the single most impactful personalization you can add, but it must be legible and thoughtful. Write a short message that references a shared memory or an inside joke. Avoid generic phrases like 'Happy Birthday!'—instead, say 'Remember that time we got lost? This is my favorite memory.' That specificity is what makes it feel truly personal.
If your handwriting is messy, type the note and print it on cardstock, then sign your name. It's still personal, but it shows you took time to make it clean. The mistake is over-personalizing with photos or inside jokes that only you understand—keep it accessible to the recipient.
Budget Breakdown: What You Actually Spend
Let's talk numbers. For a batch of five DIY gifts—say, infused olive oil in small bottles—your total cost is roughly $12 for the bottles, $8 for the oil and herbs, and $2 for tags and twine. That's about $4.40 per gift. Compare that to a store-bought gourmet oil at $15, and you're saving 70% while giving something more personal.
I recommend setting a per-gift budget of $5–$10. This forces you to be creative without breaking the bank. The mistake is going overboard on supplies—you don't need a Cricut or a heat gun for most projects. A pair of scissors, a hole punch, and a hot glue gun cover 90% of what you'll make.
The Hacks, Step by Step
- 1Pick one hero item
Choose a single material that will be the star—like a glass jar, a wooden board, or a high-quality candle. This gives your gift a clear identity and makes the rest of the project easier. - 2Time-block 30 minutes
Set a timer and commit to finishing within that window. Prep all materials first, and don't allow yourself to pause for perfectionism. You can always make another version later. - 3Use the 'make 5, give 1' rule
Create five identical items and select the best to give. This improves your technique and gives you backups. The rejects can be used as testers or given to friends later. - 4Invest in packaging
Wrap your gift in a simple but elevated way—a linen cloth, a wax seal, or a handwritten tag. This increases perceived value by 50% without adding much cost. - 5Write a specific note
Handwrite or print a short message that references a shared memory. Avoid generic phrases. This personal touch is what makes DIY gifts memorable. - 6Keep a consistent color palette
Stick to two or three colors that complement each other. This creates a cohesive, professional look. Avoid mixing too many patterns or hues. - 7Test your gift before giving
If it's edible, taste it. If it's a candle, burn it. If it's a soap, use it. This ensures quality and gives you confidence when you present it.
The best DIY gift is not about perfection—it's about the intention, and packaging is the silent messenger of that intention.
Frequently Asked Questions
What are some easy DIY gifts that look expensive?
Easy DIY gifts that look expensive include infused oils in glass bottles, handmade candles, and personalized photo frames with a matted finish. The trick is to use quality materials and simple, elegant packaging.
How can I make a DIY gift look professional?
To make a DIY gift look professional, focus on clean lines, a cohesive color palette, and high-quality packaging. Avoid visible glue marks, uneven edges, and overly busy patterns.
What is the best budget for a DIY gift?
A budget of $5 to $10 per gift is ideal. It forces creativity without sacrificing quality. For example, a batch of five infused oil bottles costs about $4.40 each.
How long should a DIY gift take to make?
A DIY gift should take no more than 30 minutes to an hour. If it takes longer, it's likely too complex and may lead to frustration. Time-blocking helps keep it efficient.
What are common mistakes in DIY gift making?
Common mistakes include overcomplicating the design, using low-quality materials, and neglecting packaging. Also, making a gift that is too personal to the maker can confuse the recipient.



Leave a Comment