
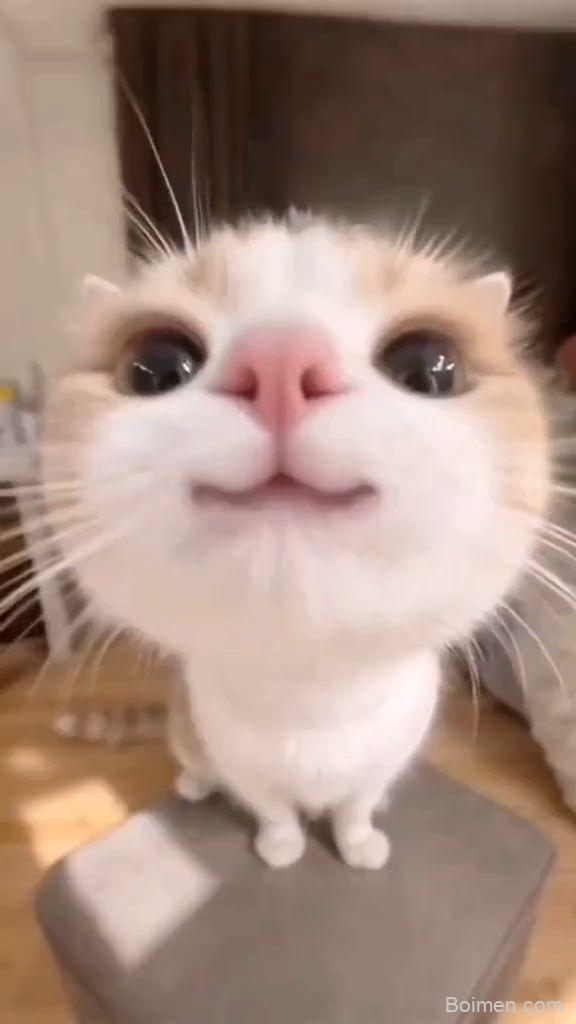
Ever noticed how the coziest cat photos never look staged — just a sunbeam, a rumpled linen throw, and one very smug tabby? This guide breaks down the cute cat aesthetic into concrete, do-this-not-that moves you can copy this weekend, from color palettes to camera angles.
Advertisements1
- A tight 3–4 color palette beats a pile of novelty props every time.
- Side light from a window is the real secret — filters can't fake good light.
- Shoot at cat eye level and leave negative space for an instant upgrade.
- Three textures per scene is the sweet spot; more reads as clutter.
- Burst mode plus ruthless culling (keep ~3 per 100) captures the magic moments.
- Warmth +10, shadows +12, clarity −8 — then stop editing.
Start With a Palette, Not a Prop Haul
The single biggest mistake beginners make is buying a dozen novelty props — tiny hats, faux flowers, ceramic fish — and wondering why the photos still feel cluttered. In my experience shooting my two cats, Luna and Mochi, for three years, the aesthetic lives in a tight 3–4 color palette. Think warm cream, oatmeal, soft sage, and one accent of dusty terracotta. That's it.
Do this: pull five objects you already own (a knit blanket, a wooden tray, a linen cushion, a matte mug, a paperback) and check they sit in that palette. Not that: buy a rainbow of cat toys and leave them in frame. Toys are visual noise — corral them in a woven basket that matches your palette and only pull one out for play shots.
Here's the everyday metaphor I use: a cute cat scene is like a good bowl of ramen — three or four components done well beat fifteen ingredients fighting each other.
Chase the Light, Not the Filter
Roughly 80% of the cute cat aesthetic is lighting, and you can get it for free. Cats are solar-powered — they'll find the warm patch of floor by a window within minutes of it appearing. Your job is to be ready when they do. Position yourself so the window is to the side of your cat (side light), not behind them (backlight blows out the fur) and not straight overhead.
Do this: shoot in the two hours after sunrise or the two hours before sunset, near a north- or east-facing window. Not that: rely on the warm "golden hour" preset to fake it — filters crush fur detail and make white cats look yellow.
A concrete number to remember: if your phone shows a shutter speed slower than 1/125s, your cat will blur the moment they twitch. Move closer to the window or bump your ISO instead of adding more filter.
Compose Low, and Leave Breathing Room
The fastest upgrade to any cat photo is dropping your camera to the cat's eye level. Most people shoot from standing height, which makes cats look small, distant, and a bit like a security-camera still. Kneel, sit on the floor, or lie down — the resulting image feels intimate and instantly more "aesthetic."
Do this: frame your cat slightly off-center using the rule of thirds, and leave negative space on the side they're looking toward. Not that: center them dead-middle in a tight crop with their ears touching the frame edge. Breathing room is what separates a portrait from a snapshot.
Try a 3:4 vertical crop for Pinterest and a 1:1 square for Instagram, and shoot a little wider than you need so you have room to crop later. My rule of thumb: if I can't fit a fist-width of empty space around my cat's head, I'm too close.
Style the Scene With Texture, Not Clutter
Texture is the secret ingredient of the cozy cat aesthetic. A flat scene reads as boring; a scene with a chunky knit, a linen drape, and a smooth wooden surface reads as rich — even if it's just a corner of your bedroom. Aim for three textures in every shot.
Do this: layer a textured throw over a plain chair, add a matte ceramic bowl, and let a few dried stems lean in a corner. Not that: drape fairy lights, tinsel, and three blankets over everything. More than three textures starts to look chaotic, and cats will investigate (and knock over) anything dangling.
Safety note worth repeating: skip lit candles, tinsel, and loose ribbon in cat photos. Aesthetic is never worth an emergency vet visit — swap in battery-operated candles or a dried eucalyptus stem instead.
Capture the In-Between Moments
The most-loved cute cat photos are rarely the posed ones. They're the yawn mid-stretch, the paw reaching for a sunbeam, the slow blink. These micro-moments are what make viewers stop scrolling — and they're gone in under a second.
Do this: shoot in burst mode (most phones do 10–20 frames per second when you hold the shutter) and expect to keep maybe 3 out of 100. That ratio is normal, not failure. Not that: wait for the "perfect" pose and press once — you'll almost always catch a blurry ear or a half-closed eye.
Keep a small treat pouch nearby and reward your cat every few frames so they stay engaged and associate the camera with good things. Ten minutes of shooting is plenty; cats lose patience fast, and forcing a longer session just produces grumpy ears.
Edit for Warmth, Then Stop
Editing is where most people overshoot. The cute cat aesthetic wants warmth and softness, not saturation turned to eleven. A simple three-slider edit gets you 90% of the way there.
Do this: raise warmth by roughly +8 to +12, lift shadows by +10 to +15, and drop clarity or texture slightly (−5 to −10) to soften fur. Not that: stack a filter, a grain overlay, a vignette, and a light leak — that's how a photo starts looking like a 2014 Tumblr post instead of a fresh image.
Save your edit as a preset so your feed looks cohesive across ten or twenty posts. Consistency, not complexity, is what makes a grid feel like a brand.
How to Do It, Step by Step
- 1Pick a 4-color palette from things you own
Choose cream, oatmeal, sage, and one accent, then remove anything outside it from the frame. A tight palette is the fastest route to a cohesive look without buying props. - 2Find your best window and note the hours
Track when the warm light patch hits your floor — usually 1–2 hours after sunrise or before sunset — and shoot then. Free, flattering light beats any paid filter. - 3Drop to cat eye level
Kneel or lie on the floor so your lens is level with your cat's eyes. This single change makes photos feel intimate rather than like a surveillance still. - 4Stage three textures
Layer a knit, a linen, and a smooth wood or ceramic surface. Three textures add richness; five add chaos. - 5Shoot in burst mode for 10 minutes
Hold the shutter through yawns, stretches, and slow blinks, then cull ruthlessly. Expect to keep around 3 in 100 frames. - 6Apply a saved 3-slider preset
Warmth +10, shadows +12, clarity −8. Save it and reuse it so every post matches. - 7Remove all hazards before shooting
No lit candles, tinsel, or loose ribbon in frame. Swap in battery candles or dried stems.
The cute cat aesthetic isn't about buying the perfect scene — it's about noticing the light your cat already found and getting on the floor in time.
Frequently Asked Questions
Is it safe to use candles or tinsel in cat photos?
No — skip lit candles, tinsel, and loose ribbon entirely. Use battery-operated candles or dried stems instead, since cats will chew or knock over anything dangling.

Priya explores creative writing prompts and storytelling techniques for aspiring authors. She shares exercises to spark imagination and build narrative confidence, drawn from her own writing practice.


Leave a Comment