
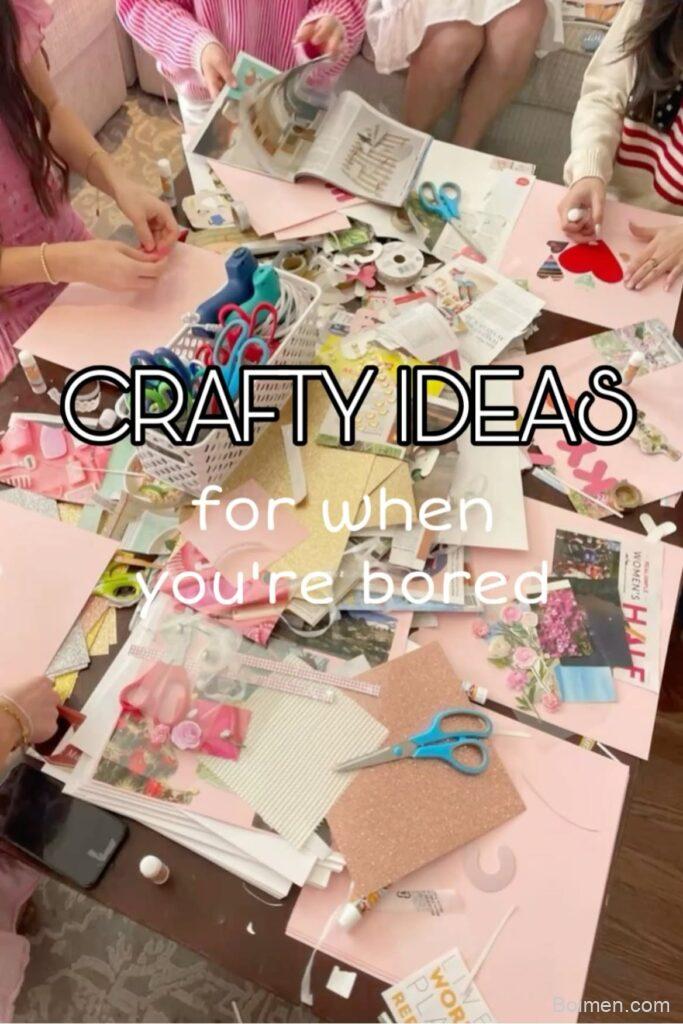
Boredom is rarely a shortage of ideas — it's a shortage of decisions, and craft projects fail most often at the setup stage, not the gluing stage. These seven hacks each take under 45 minutes, need materials you likely already own, and come with the one mistake that ruins them.
Advertisements1
Why Most "Cute Craft" Lists Waste Your Afternoon
The problem is scope. A Pinterest board full of pastel clay earrings and pressed-flower frames looks achievable until you realize half the projects need a $40 tool or a 24-hour drying window. I've tested dozens of these over the years, and the pattern is consistent: projects that fail are the ones where the shopping list is longer than the crafting time.
My filter is simple. A boredom craft has to pass three tests: materials under $10 or already in the house, a total time under 45 minutes including cleanup, and a finished object you'd actually keep or gift. Anything that fails one of these becomes a half-finished box in the closet.
Use this as a quick comparison before you start:
– Polymer clay: high cuteness, needs an oven and 30+ minutes of conditioning
– Air-dry clay: no oven, but 24-hour dry time — bad for instant gratification
– Paper and cardstock: instant, cheap, zero cleanup risk
– Embroidery floss: cheap and portable, but 1–3 hours per small piece
– Washi tape: fastest win, lowest durability
Pick from the bottom of that list when you're genuinely restless; save the top for a planned afternoon.
Hack 1: Washi Tape Bookmarks (5 Minutes, Zero Skill)
This is the fastest win on the list, and it's the one I recommend to anyone who says they're "not crafty." Take a strip of cardstock cut to 2 by 6 inches, lay overlapping strips of washi tape across it at a slight angle, and trim the excess with scissors flush to the edge. Punch a hole at the top and add a 6-inch length of embroidery floss as a tassel.
Why it works: washi tape is low-tack and repositionable, so mistakes cost you nothing — you peel it up and try again. That removes the fear of ruining materials, which is the real reason people stall on crafts. A single roll of tape yields roughly 8–10 bookmarks, so the cost per finished object is pennies.
The common mistake: pressing the tape down hard before you've checked the alignment. Washi tears rather than lifts cleanly once it's fully adhered, especially on textured cardstock. Press lightly, check the angle, then burnish.
Hack 2: Pressed Flower Gift Tags With a Book and Two Days
Pressed flowers look expensive and cost nothing if you have a garden or a willing neighbor. The technique is unglamorous: lay small blooms flat between two sheets of parchment paper, place them inside a heavy book, and stack two more books on top. Thin flowers like pansies, violas, and forget-me-nots press in 48 hours; thicker blooms like roses need a full week and often mold.
Why it works: the parchment layer is the detail most tutorials skip. Without it, flower sap bleeds into the book pages and the petals stick to the paper and tear when you lift them. The parchment gives you a clean release every time.
The common mistake: pressing flowers that are wet with dew or too thick. Pick blooms in the late morning after dew has dried, and skip anything with a fleshy center. Glue the dried flowers to kraft gift tags with a thin line of white glue applied with a toothpick — a glue stick wrinkles the petals.
Hack 3: Nail Polish Marbled Jar (10 Minutes, One Real Risk)
Fill a disposable container with room-temperature water, drip three or four drops of nail polish onto the surface, swirl once with a toothpick, and dip a clean glass jar at a slight angle. The polish film grabs the glass and dries in about 15 minutes. This is the highest-impact craft per minute on this list — a plain jar becomes a pen cup or candle holder in under a quarter of an hour.
Why it works: nail polish is a solvent-based lacquer that adheres to glass without primer, and the surface tension of the water bath spreads the drops into thin films. Room-temperature water matters — cold water makes the polish set too fast and clump.
The common mistake: using too much polish. More than four drops and the film gets thick and wrinkly, and it peels within weeks. Also work near an open window; the solvent smell is real, and this is not a craft for a small closed room.
Hack 4: Three-Stitch Embroidered Patch (30 Minutes)
You don't need a full embroidery course. Three stitches — backstitch for outlines, satin stitch for fills, and French knots for texture — cover nearly every small motif. Draw a simple shape on cotton with a water-soluble pen, backstitch the outline, satin-stitch the interior, and add two or three French knots for detail. A 2-inch patch takes about half an hour once you've done one.
Why it works: limiting yourself to three stitches removes the decision paralysis that makes embroidery feel intimidating. The water-soluble pen is the unsung tool here — it lets you draw freely and disappears with a damp cloth, so you're never committing ink to fabric.
The common mistake: using too-long stitches to fill faster. Satin stitches longer than about half an inch snag and sag over time. Keep them short and parallel, and split the floss from six strands down to three for small motifs — six strands on a 2-inch patch looks bulky and lumpy.
Hack 5: Clay Trinket Dish That Skips the Oven
If you want the clay look without the oven, use air-dry clay but keep the piece small — a dish the size of a coaster dries in about 24 hours, while anything thicker than a quarter inch can take three days and crack. Roll the clay to 4mm, press it into a small bowl lined with plastic wrap, and smooth the rim with a damp finger.
Why it works: the plastic wrap is the release layer that lets you lift the dish out cleanly without distorting the shape. The 4mm thickness is the sweet spot — thick enough to hold its form, thin enough to dry evenly.
The common mistake: drying it too fast. Air-dry clay left near a radiator or in direct sun dries unevenly and cracks along the rim. Cover it loosely with a cloth for the first 12 hours so it dries slowly and evenly, then leave it uncovered.
Hack 6: The One-Sheet Zine (20 Minutes, Endless Variations)
Fold a sheet of A4 paper in half lengthwise, then in half again, and once more, and you have an eight-page mini-book from a single sheet. Cut along the center fold, refold, and you've got a zine. Fill it with doodles, a recipe, a list of favorite songs, or a comic — one page per panel.
Why it works: the format removes the blank-page problem. Eight tiny panels are far less intimidating than a full sheet, and the constraint pushes you toward simple, bold drawings that look good at small scale. It's also the cheapest craft here: one sheet of paper and a pen.
The common mistake: folding in the wrong direction on the last fold, which puts your cover on the back. Before cutting, check that the fold with the closed edges is on the left and the open edges on the right — that's the orientation that produces a correctly ordered booklet.
Hack 7: Scrap Fabric Coasters (15 Minutes, No Sewing)
Cut six 4-inch squares of cotton fabric, stack them slightly off-angle, and fuse them with a 4-inch square of fusible interfacing sandwiched in the middle. Press with an iron for 10 seconds per side, trim the edges straight, and you have a quilted-looking coaster with no needle involved. One fat quarter yields about four coasters.
Why it works: fusible interfacing is a heat-activated adhesive web, so the iron does the joining work. The off-angle stacking creates a subtle layered look that reads as intentional design rather than a shortcut.
The common mistake: pressing without a pressing cloth. Direct iron contact melts the interfacing onto the soleplate and ruins both the coaster and the iron. Always use a thin cotton cloth between the iron and the fabric, and keep the iron moving rather than holding it still.
The crafts that actually get finished are the ones where the shopping list is shorter than the making time.
Frequently Asked Questions
What is the easiest craft to do when bored with no supplies?
The one-sheet zine needs only paper and a pen, making it the lowest-supply option on this list. Fold an A4 sheet three times, cut the center fold, and you have an eight-panel mini-book in about 20 minutes.
How long do pressed flowers take to dry?
Thin flowers like pansies and violas press in about 48 hours, while thicker blooms such as roses need a full week and often mold. Always press between parchment paper and pick blooms after the morning dew has dried.
Can you marble a jar with nail polish without it peeling?
Yes, if you use three to four drops of polish in room-temperature water and let the jar dry upside down for 15 minutes. Thick films from too much polish are what peel within weeks.
Do you need an oven for polymer clay crafts?
Polymer clay requires oven baking at around 275°F, but air-dry clay needs no oven at all. For a quick boredom project, keep air-dry pieces under a quarter inch thick so they dry in about 24 hours.
What is the cheapest cute craft for beginners?
Washi tape bookmarks cost pennies per piece and need no skill. A single roll of tape yields 8–10 bookmarks from cardstock you likely already have.



Leave a Comment