
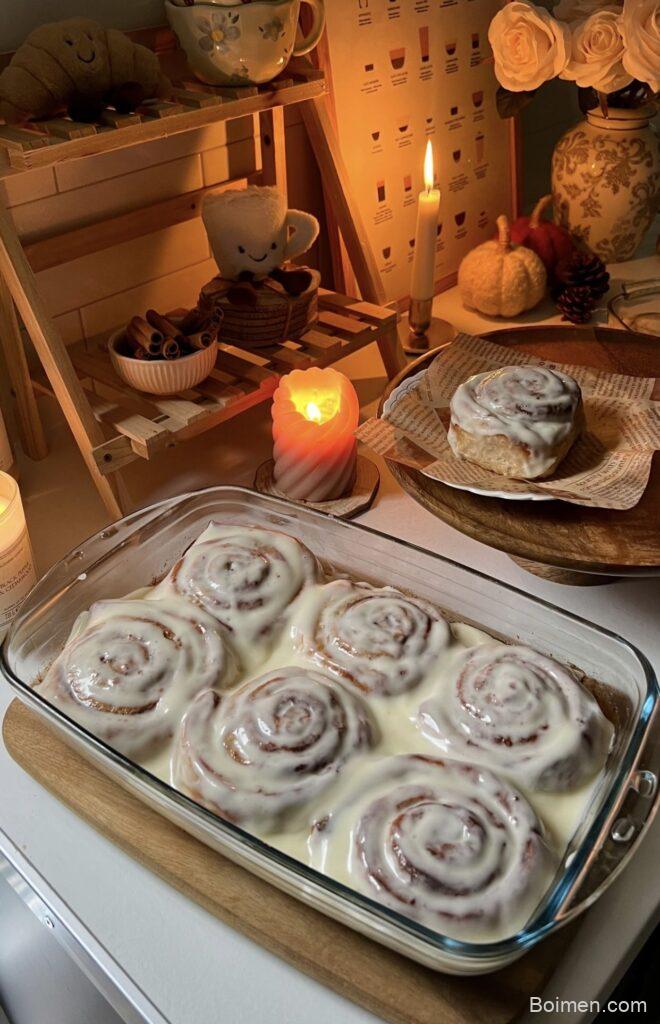
Some dishes are made for the camera before they ever reach the table. This is one of them.
Advertisements1
The light falls across a tray of small golden rounds, edges catching the afternoon like polished brass. You lean closer. The smell is butter and warmth and something faintly sweet.
I first made these on a grey afternoon when the kitchen felt too quiet. Ten minutes in, the whole room changed. Less, but better.
Why You'll Love This Recipe
About the Ingredients
2 cups (250g) all-purpose flour
Spoon it into the cup and level it off, or the dough turns heavy. White whole wheat flour works as a one-to-one swap with a slightly nuttier crumb.
1/2 cup (113g) unsalted butter, softened
Let it sit out for an hour rather than softening it in the microwave. Salted butter works too, just drop the added salt to a pinch.
1/3 cup (67g) granulated sugar
Coconut sugar substitutes well here and adds a faint caramel note. Whisk it with the butter until no grains remain visible.
1 large egg, room temperature
A cold egg will seize the butter and make the dough curdle. If you forgot, rest the egg in warm water for five minutes.
1 teaspoon vanilla extract
Real extract, not imitation, makes a noticeable difference in a short ingredient list. Almond extract can replace half of it for a softer perfume.
1/2 teaspoon fine sea salt
Fine sea salt dissolves evenly; flaky salt will leave bitter pockets. Kosher salt works if you use half the amount.
1 teaspoon baking powder
Check the date on the tin, since older powder loses its lift. Aluminum-free baking powder keeps the flavor clean.
1/2 cup (85g) mini chocolate chips or chopped dried fruit
Mini chips distribute more evenly than full-size ones. Chopped dried apricots or cranberries give a brighter, less sweet result.
Tips & Tricks
- Measure the flour by spooning and leveling, never by scooping straight from the bag. A packed cup adds up to 20 percent more flour and turns these dense and dry.
- Chill the shaped dough for ten minutes if the room is warm. Cold dough holds its shape, spreads less, and bakes into a tidier round.
- Pull them from the oven when the centers still look slightly underdone. They finish setting on the hot tray, which is what keeps the middle soft.
Pro Tips
Step-by-Step Instructions
1. Heat the Oven
Set a rack in the middle of the oven and preheat to 350F (175C). A fully preheated oven gives an even rise, so give it a full ten minutes.
2. Cream Butter and Sugar
Beat the softened butter with the sugar for two minutes until pale and fluffy. It should look like soft whipped cream and feel lighter on the whisk.
3. Add the Egg
Beat in the egg and vanilla until fully absorbed, scraping the bowl once. The mixture will look glossy and slightly looser.
4. Fold the Dry Ingredients
Whisk the flour, baking powder, and salt together, then fold them into the wet mixture in two additions. Stop the moment the last streak of flour disappears.
5. Add the Mix-Ins
Fold in the chocolate chips or dried fruit with a spatula. The dough should be soft but hold a gentle indentation when pressed.
6. Shape the Rounds
Roll the dough into 24 equal balls, about one tablespoon each, and space them two inches apart on a lined tray. Even sizing means even baking.
7. Bake Until Golden
Bake at 350F (175C) for 11 to 13 minutes, until the edges are golden brown and the centers look barely set. An instant-read thermometer in the center should read about 200F (93C).
8. Cool and Serve
Leave them on the tray for five minutes, then transfer to a rack. They will firm up as they cool, with a soft, tender middle.
Delicious Variations
Lemon Poppy Seed
Add the zest of one lemon and a tablespoon of poppy seeds, and swap the vanilla for lemon extract.
Brown Butter Toffee
Brown the butter first, cool it for ten minutes, then proceed with chopped toffee bits instead of chocolate.
Cranberry Orange
Use dried cranberries and a teaspoon of orange zest, then drizzle with a simple orange glaze once cool.
How to Store Pinterest image
Refrigerator
Store in an airtight container at room temperature for up to three days, or refrigerate for up to a week and let them come to room temperature before serving.
Freezer
Freeze baked rounds in a single layer, then transfer to a freezer bag for up to two months. The dough itself also freezes well when shaped into balls.
Reheating
Warm in a 300F (150C) oven for four to five minutes, or in the microwave for ten seconds. A long reheat will dry out the centers.
Frequently Asked Questions
Q: Can I make these ahead of time?
Yes, the dough can be mixed and refrigerated for up to 48 hours before baking. Let it sit at room temperature for fifteen minutes so it is scoopable, then bake as written.
Q: Why did my batch spread too much?
Warm butter or a warm kitchen is almost always the cause. Chill the shaped dough for ten minutes and make sure your baking powder is fresh before the next round.
Q: Can I use salted butter instead of unsalted?
Yes, simply reduce the added salt to a small pinch. The finished flavor stays balanced and you will not notice the swap.
Q: How do I know when they are done?
The edges should be golden brown while the centers still look slightly soft. They firm up on the tray within five minutes, so pull them early rather than late.
Q: Can I make these gluten free?
A one-to-one gluten-free flour blend works well in this recipe. Let the dough rest for fifteen minutes before shaping so the flour hydrates fully.
Make a tray this week and watch how quickly the kitchen fills with people. If you bake them, tell me in the comments how the edges turned out, and pin the photo for the next grey afternoon.

Pinterest image
Pinterest image is a golden, crispy snack with a soft, buttery center, ready in 30 minutes and made for sharing at cozy gatherings.
🧂 Ingredients
- 2 cups (250g) all-purpose flour
- 1/2 cup (113g) unsalted butter, softened
- 1/3 cup (67g) granulated sugar
- 1 large egg, room temperature
- 1 teaspoon vanilla extract
- 1/2 teaspoon fine sea salt
- 1 teaspoon baking powder
- 1/2 cup (85g) mini chocolate chips or chopped dried fruit
📋 Instructions
- 1Heat the Oven — Set a rack in the middle of the oven and preheat to 350F (175C). A fully preheated oven gives an even rise, so give it a full ten minutes.
- 2Cream Butter and Sugar — Beat the softened butter with the sugar for two minutes until pale and fluffy. It should look like soft whipped cream and feel lighter on the whisk.
- 3Add the Egg — Beat in the egg and vanilla until fully absorbed, scraping the bowl once. The mixture will look glossy and slightly looser.
- 4Fold the Dry Ingredients — Whisk the flour, baking powder, and salt together, then fold them into the wet mixture in two additions. Stop the moment the last streak of flour disappears.
- 5Add the Mix-Ins — Fold in the chocolate chips or dried fruit with a spatula. The dough should be soft but hold a gentle indentation when pressed.
- 6Shape the Rounds — Roll the dough into 24 equal balls, about one tablespoon each, and space them two inches apart on a lined tray. Even sizing means even baking.
- 7Bake Until Golden — Bake at 350F (175C) for 11 to 13 minutes, until the edges are golden brown and the centers look barely set. An instant-read thermometer in the center should read about 200F (93C).
- 8Cool and Serve — Leave them on the tray for five minutes, then transfer to a rack. They will firm up as they cool, with a soft, tender middle.

Ingrid explores Scandinavian minimalist design and slow living. She writes about creating calm, functional spaces with fewer, better things.


Leave a Comment