
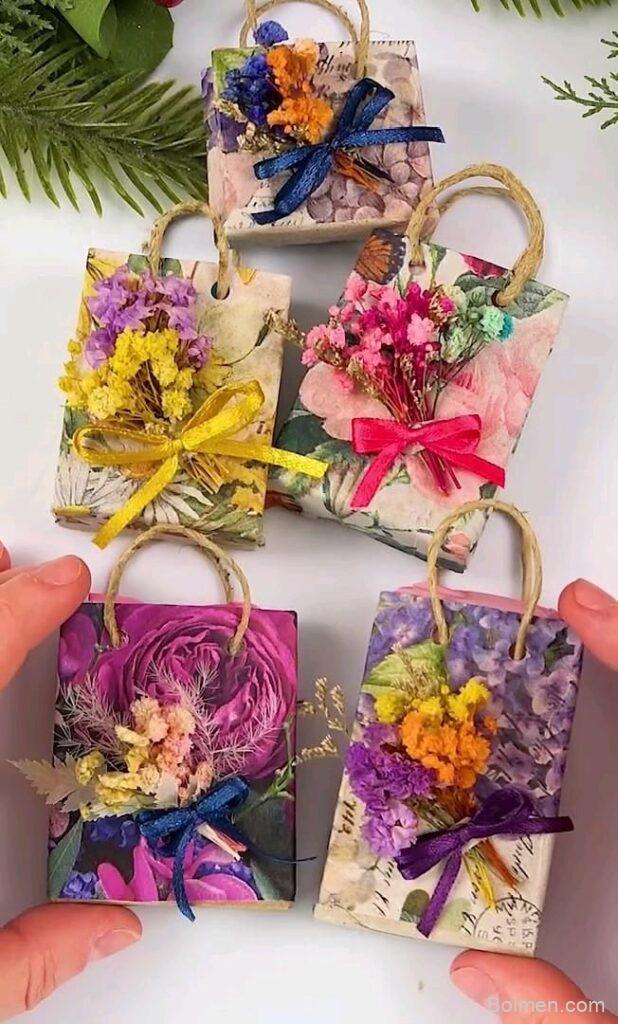
If you're scrolling Pinterest for pipe cleaner crafts, you've probably seen those adorable fuzzy creations and wondered if you can actually make them. Good news: you can, and I'm here to show you exactly how. I've spent countless hours in Facebook craft groups, learning from real makers, and I've distilled the best, most reliable techniques into 7 hacks that anyone can do.
Advertisements1
- Twist pipe cleaners just until they interlock; over-twisting causes shedding.
- A pinhead-sized dot of craft glue secures attachments without mess.
- Loop-and-wrap creates realistic flower petals; wrap loosely then adjust.
- A pet brush adds fuzzy texture to smooth pipe cleaners.
- Store pipe cleaners on a tension rod to keep them straight and accessible.
- Facebook group challenges provide accountability and inspiration.
Why Pipe Cleaner Crafts Are Perfect for Beginners
Pipe cleaners are forgiving. They bend, twist, and fluff back into shape. That means you can experiment without fear. In my first Facebook group challenge, I made a lopsided butterfly that looked more like a moth, but the encouragement I got kept me going. Now, I can whip up a bouquet of roses in under 10 minutes. The key is starting simple. Groups like 'Pipe Cleaner Crafters' have beginner-friendly patterns pinned to their Files tab. Grab a pack of chenille stems (the standard 12-inch ones) and a pair of wire cutters. That's all you need to begin. The best part? You can find inspiration and troubleshooting in real-time from members who've been there.
Hack 1: The Twist-and-Tuck Method for Sturdy Shapes
Twisting two pipe cleaners together creates a strong core. But the magic is in the tuck: after twisting, fold the sharp ends inward and tuck them under a loop. This prevents scratches and gives a polished look. I use this for flower stems and animal legs. Mistake to avoid: twisting too tightly, which makes the chenille shed. Instead, twist just until the fibers interlock. In the Facebook group, a member shared a photo of a giraffe with wobbly legs because she twisted too loosely. The fix? Twist until you feel resistance, then tuck.
Hack 2: Use a Dab of Glue for Secure Attachments
Pipe cleaners don't always stay put when you attach them to pom-poms or googly eyes. A tiny dot of craft glue (like Tacky Glue) on the tip before inserting works wonders. I learned this from a group admin who makes intricate fairy dolls. She applies glue to the pipe cleaner end, then pushes it into the pom-pom. It dries clear and flexible. Common mistake: using too much glue, which seeps out and looks messy. Use a toothpick to apply just a pinhead-sized amount. In my experience, this trick has saved many projects from falling apart.
Hack 3: The Loop-and-Wrap Technique for Flowers
To make a simple rose, loop one end of a pipe cleaner into a small circle, then wrap the rest around it, shaping petals as you go. This technique, shared in a Facebook live tutorial, creates realistic blooms. I made a dozen roses for a Mother's Day bouquet, and they still look fresh. The mistake? Wrapping too tightly from the start, which flattens the petals. Instead, wrap loosely, then adjust. For a fuller flower, use two pipe cleaners twisted together for the base.
Hack 4: Add Texture with a Pet Brush
A clean pet brush (the kind with wire bristles) can transform smooth pipe cleaners into fuzzy, textured creations. Gently brush the chenille to fluff it up. This is perfect for animal fur or flower centers. I used this on a teddy bear, and it looked store-bought. Warning: brushing too hard can pull out fibers. Use light strokes. A group member mentioned that this trick works best on higher-quality pipe cleaners, so invest in a good brand.
Hack 5: Store Your Supplies in a Tension Rod Organizer
Keep your pipe cleaners tangle-free by hanging them on a tension rod inside a closet or craft room. Sort by color using small binder clips. This tip came from a Facebook group post about craft room organization. I installed a rod in my closet, and now I can grab any color in seconds. Mistake: storing them in a bag where they get bent. The rod keeps them straight and visible. Plus, it's a cheap solution—under $10.
Hack 6: Join a Facebook Group Challenge to Stay Motivated
Facebook groups often host weekly challenges, like 'Make a mini monster' or 'Create a fall wreath.' Participating pushes you to try new techniques and get feedback. I joined a 30-day challenge and made 30 different creatures. The accountability kept me crafting daily. Mistake: comparing your work to others. Remember, everyone started somewhere. The supportive community will cheer you on. Search for groups like 'Pipe Cleaner Crafts & Tutorials' and request to join.
The Hacks, Step by Step
- 1Gather basic supplies
You'll need pipe cleaners (chenille stems) in assorted colors, wire cutters, and craft glue. These are affordable and available at dollar stores or online. Having them on hand means you can start any project immediately. - 2Choose a simple pattern
Start with a flower or a butterfly. Facebook groups have free patterns in their files. Pick one with few steps to build confidence. - 3Twist and tuck ends
Twist two pipe cleaners together for a strong core, then fold sharp ends inward and tuck under a loop. This prevents scratches and gives a neat finish. - 4Secure with a dab of glue
Apply a tiny dot of craft glue to pipe cleaner ends before inserting into pom-poms or eyes. This keeps attachments from slipping. - 5Fluff with a pet brush
Gently brush the chenille with a clean pet brush to add texture. Use light strokes to avoid pulling out fibers. - 6Store on a tension rod
Hang pipe cleaners on a tension rod sorted by color with binder clips. This keeps them straight and tangle-free. - 7Join a Facebook challenge
Participate in group challenges to learn new techniques and stay motivated. Share your work and ask for feedback.
The best crafters aren't born—they're made through trial, error, and a supportive Facebook group.
Frequently Asked Questions
What are the best pipe cleaners for crafts?
Look for 12-inch chenille stems with dense fibers; brands like Chenille Kraft or Darice are reliable. Higher-quality pipe cleaners shed less and hold shape better.
How do I keep pipe cleaner crafts from falling apart?
Use a small dot of craft glue on ends before attaching, and twist connections tightly. Tucking sharp ends under loops also adds stability.
Can I make pipe cleaner crafts with kids?
Yes, but supervise with wire cutters and glue. Simple projects like flowers and butterflies are great for ages 5+ with adult help.
Where can I find pipe cleaner craft ideas?
Facebook groups like 'Pipe Cleaner Crafts & Tutorials' and Pinterest are goldmines. Also check YouTube for video tutorials.
How do I store pipe cleaners to prevent tangling?
Hang them on a tension rod sorted by color using binder clips. This keeps them straight and easy to grab.



Leave a Comment