
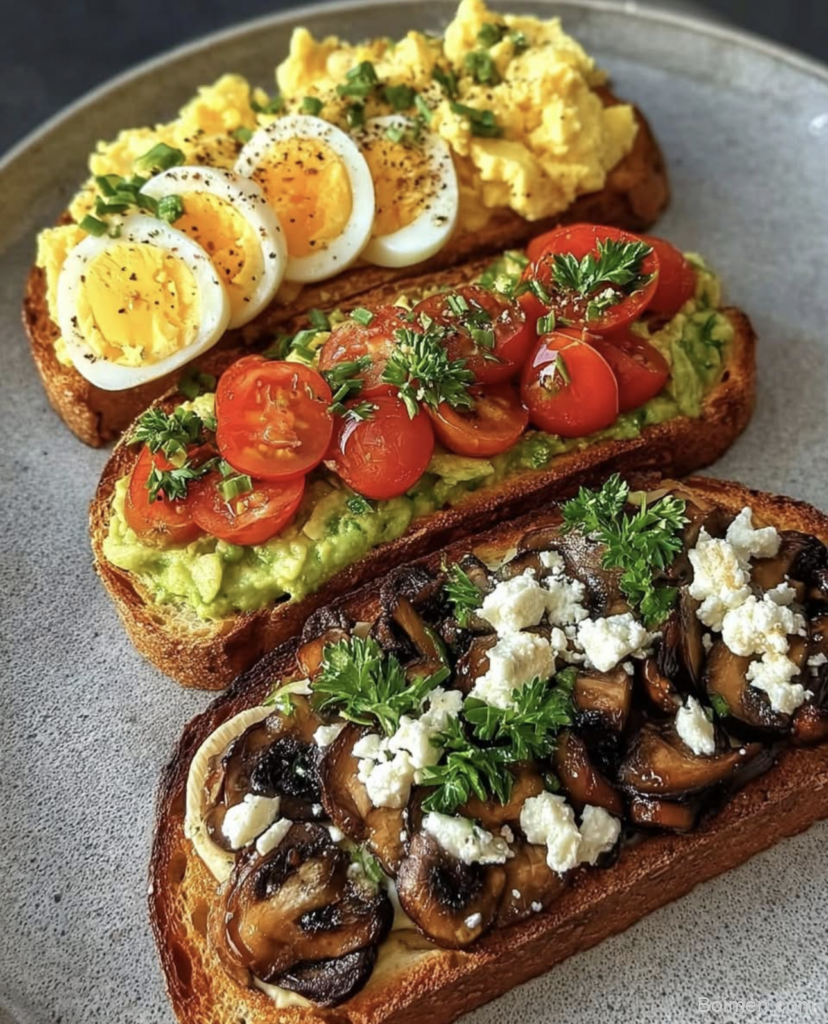
Let's be honest: sometimes the best recipes start with a picture you can't stop staring at. That's exactly how these Pinterest image cookies came to life in my kitchen. They're soft, chewy, and decorated with bright, glossy icing that makes them almost too pretty to eat.
Advertisements1
You don't need fancy tools or a pastry degree. Just a bowl, a whisk, and a little patience while the dough chills. The dough comes together in one bowl, and the icing is a simple three-ingredient glaze you can tint any color you like.
These cookies are perfect for birthdays, bake sales, or a cozy weekend project with your kids. Once you see how easily they come together, you'll want to make a batch every chance you get.
Why You'll Love This Recipe
About the Ingredients
2 1/4 cups (280g) all-purpose flour
Spoon the flour into your measuring cup and level it off so you don't pack in too much. If you need a gluten-free version, use a 1-to-1 gluten-free baking blend.
1/2 teaspoon baking soda
This gives the cookies their gentle lift. Check the date on your box, because old baking soda won't bubble when it hits the wet ingredients.
1/4 teaspoon fine sea salt
Just a pinch balances the sweetness. If you only have table salt, use a scant 1/4 teaspoon since the grains are finer.
1/2 cup (113g) unsalted butter, softened
Let it sit on the counter for about 30 minutes until it dents easily with your finger. Salted butter works too, just skip the added salt.
3/4 cup (150g) granulated sugar
White sugar keeps the cookies soft and pale. You can swap in coconut sugar for a deeper, caramel-like flavor.
1 large egg, room temperature
A room-temperature egg blends more smoothly into the butter. If yours is cold, pop it in a bowl of warm water for five minutes.
2 teaspoons vanilla extract
Real vanilla makes a noticeable difference here. If you only have imitation vanilla, use the same amount and add an extra 1/4 teaspoon.
2 cups (240g) powdered sugar, sifted
Sifting keeps the icing lump-free and glossy. If you're out, blend granulated sugar in a blender until powdery.
3 tablespoons whole milk
Whole milk gives the creamiest glaze. Any milk works, including oat or almond, though the icing may be slightly thinner.
1/2 teaspoon almond extract
This adds a lovely background note. If you're not a fan, use an extra 1/2 teaspoon of vanilla instead.
Gel food coloring, assorted colors
Gel coloring won't water down your icing like liquid drops can. Start with a toothpick-sized amount and add more as needed.
Tips & Tricks
Chill the dough for at least 30 minutes
Warm dough spreads too fast in the oven. Chilling firms the butter so your cookies bake up thick and soft instead of flat and crispy.
Sift your powdered sugar every time
Lumps in the sugar turn into lumpy icing that won't pipe smoothly. A quick sift takes ten seconds and saves you from a frustrating decorating session.
Add color a tiny bit at a time
Gel coloring is powerful, and it's much easier to darken icing than to lighten it. Dip a toothpick in the gel, swirl it through the icing, and stir before adding more.
Let cookies cool completely before icing
Icing on a warm cookie slides right off the edge. Give them 20 minutes on a wire rack so the glaze stays put and dries with a clean finish.
Pro Tips
Step-by-Step Instructions
1. Whisk Dry Ingredients
In a medium bowl, whisk together the flour, baking soda, and salt until no streaks remain. This spreads the leavener evenly so every cookie rises the same way.
2. Cream Butter and Sugar
Beat the softened butter and granulated sugar with a whisk or hand mixer for 2 minutes until pale and fluffy. You'll see the mixture lighten in color, which means air is getting in.
3. Add Egg and Vanilla
Beat in the egg and vanilla extract until fully combined, about 30 seconds. Scrape down the sides of the bowl so nothing gets left behind.
4. Fold in the Flour
Add the dry ingredients in two additions, stirring with a spatula just until the flour disappears. Stop as soon as it's mixed, because overworking makes tough cookies.
5. Chill the Dough
Cover the bowl and refrigerate for 30 minutes. The dough should feel firm and slightly cool to the touch, which keeps the cookies from spreading too much.
6. Bake the Cookies
Preheat your oven to 350°F (175°C). Scoop 1-tablespoon balls onto a parchment-lined sheet, spacing them 2 inches apart. Bake for 10 to 12 minutes until the edges are just set and the centers look soft and slightly glossy. Let them cool on the pan for 5 minutes, then move to a wire rack.
7. Whisk the Icing
Sift the powdered sugar into a bowl, then whisk in the milk and almond extract until smooth and glossy. It should ribbon off the whisk and hold a line for a second before melting back.
8. Decorate and Set
Divide the icing into small bowls and tint each one with gel coloring. Spread or pipe the icing onto the cooled cookies and add sprinkles while it's still wet. Let the icing set for about 20 minutes before stacking.
Delicious Variations
Lemon Blueberry
Swap the milk for lemon juice and press fresh blueberries into the icing before it sets for a bright, fruity twist.
Chocolate Lover's
Replace 1/4 cup of the flour with cocoa powder and use chocolate milk in the icing for a rich, brownie-like cookie.
Holiday Spice
Add 1 teaspoon of cinnamon and 1/4 teaspoon of nutmeg to the dry ingredients, then tint the icing in festive red and green.
How to Store Pinterest image
Refrigerator
Store iced cookies in an airtight container in the fridge for up to 5 days. Let them sit at room temperature for 10 minutes before serving so the icing softens.
Freezer
Freeze un-iced cookies in a zip-top bag with parchment between layers for up to 3 months. Thaw at room temperature, then ice once they're fully defrosted.
Reheating
These cookies taste best at room temperature, so no reheating is needed. If you want them slightly warm, pop them in a 300°F (150°C) oven for 3 minutes, but the icing will soften.
Frequently Asked Questions
Q: How do I keep my cookies from spreading in the oven?
Chill the dough for at least 30 minutes before baking. Cold dough holds its shape, and your butter stays firm long enough for the cookies to set their edges before spreading.
Q: Can I use liquid food coloring instead of gel?
Yes, but you'll need more of it and the icing will be thinner. Gel coloring gives you vivid color with just a tiny amount, so your icing stays thick enough to spread neatly.
Q: How long do these cookies stay fresh?
They stay fresh for about 5 days in an airtight container at room temperature. If you refrigerate them, let them come to room temperature before serving for the best texture.
Q: Can I make the dough ahead of time?
Absolutely. The dough keeps in the fridge for up to 3 days, or you can freeze it for up to 3 months. Just let frozen dough thaw in the fridge overnight before scooping.
Q: Why is my icing lumpy?
You probably didn't sift the powdered sugar. Sifting breaks up the tiny clumps before they hit the milk, giving you a smooth, glossy glaze every time.
I hope these Pinterest image cookies bring a little color and joy to your kitchen this week. Grab your whisk, pick your favorite colors, and make a batch with someone you love. If you try them, I'd love to hear how they turned out. Here's to small steps, big impact.

Pinterest image
Pinterest image cookies are soft, colorful, and ready in 50 minutes, giving you a fun dessert that looks stunning and tastes even better.
🧂 Ingredients
- 2 1/4 cups (280g) all-purpose flour
- 1/2 teaspoon baking soda
- 1/4 teaspoon fine sea salt
- 1/2 cup (113g) unsalted butter, softened
- 3/4 cup (150g) granulated sugar
- 1 large egg, room temperature
- 2 teaspoons vanilla extract
- 2 cups (240g) powdered sugar, sifted
- 3 tablespoons whole milk
- 1/2 teaspoon almond extract
- Gel food coloring, assorted colors
📋 Instructions
- 1Whisk Dry Ingredients — In a medium bowl, whisk together the flour, baking soda, and salt until no streaks remain. This spreads the leavener evenly so every cookie rises the same way.
- 2Cream Butter and Sugar — Beat the softened butter and granulated sugar with a whisk or hand mixer for 2 minutes until pale and fluffy. You'll see the mixture lighten in color, which means air is getting in.
- 3Add Egg and Vanilla — Beat in the egg and vanilla extract until fully combined, about 30 seconds. Scrape down the sides of the bowl so nothing gets left behind.
- 4Fold in the Flour — Add the dry ingredients in two additions, stirring with a spatula just until the flour disappears. Stop as soon as it's mixed, because overworking makes tough cookies.
- 5Chill the Dough — Cover the bowl and refrigerate for 30 minutes. The dough should feel firm and slightly cool to the touch, which keeps the cookies from spreading too much.
- 6Bake the Cookies — Preheat your oven to 350°F (175°C). Scoop 1-tablespoon balls onto a parchment-lined sheet, spacing them 2 inches apart. Bake for 10 to 12 minutes until the edges are just set and the centers look soft and slightly glossy. Let them cool on the pan for 5 minutes, then move to a wire rack.
- 7Whisk the Icing — Sift the powdered sugar into a bowl, then whisk in the milk and almond extract until smooth and glossy. It should ribbon off the whisk and hold a line for a second before melting back.
- 8Decorate and Set — Divide the icing into small bowls and tint each one with gel coloring. Spread or pipe the icing onto the cooled cookies and add sprinkles while it's still wet. Let the icing set for about 20 minutes before stacking.

Maya writes about sustainable living and zero-waste swaps for busy families. She focuses on small, actionable changes that fit into real life without judgment or guilt.


Leave a Comment