
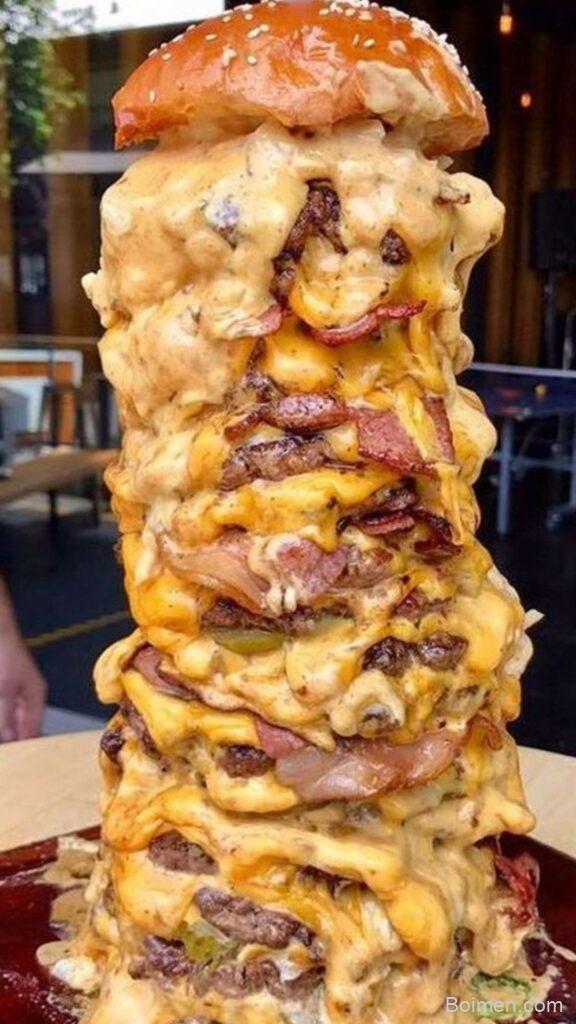
Let me be honest with you: I named this dip after the way it makes people stop scrolling. You know that moment when you're deep in your phone, thumb moving like a windshield wiper, and then something makes you pause? That's this bowl. Pinterest image dip is a layered, creamy, crunchy, slightly spicy spread that photographs like a dream and disappears even faster.
Advertisements1
Think of it like a taco salad that went to art school. You get a smooth cream cheese and sour cream base, then you build upward: seasoned ground beef, salsa, shredded cheese, lettuce, tomatoes, olives, and a shower of green onions. Every scoop is a little cross-section of flavor, which is exactly why it looks so good in a picture.
The best part? There's no baking, no fussy plating, and no special equipment. If you can stir and layer, you can make this. Let's build the bowl that breaks the internet at your next cookout.
Why You'll Love This Recipe
About the Ingredients
8 oz (227g) cream cheese, softened
Full-fat cream cheese gives the creamiest base. You can substitute whipped cream cheese for an even lighter spread, or Greek yogurt for a tangier, lower-fat option.
1 cup (240g) sour cream
Sour cream adds tang and looseness. Swap in full-fat plain Greek yogurt if you want more protein and a sharper bite.
1 lb (454g) ground beef (80/20)
The 80/20 lean-to-fat ratio keeps the meat juicy. Ground turkey or plant-based crumbles work fine too; just add a little oil so they don't dry out.
2 tbsp taco seasoning
One standard packet equals about 2 tablespoons. If you use a salt-free blend, taste and add a pinch of salt at the end.
1 cup (260g) chunky salsa
Use a thick, restaurant-style salsa so the layer doesn't turn watery. Pico de gallo drained well is a great fresh substitute.
2 cups (226g) shredded Mexican-blend cheese
Pre-shredded cheese saves time, but block cheese you grate yourself melts and tastes better. Cheddar or Monterey Jack both work.
2 cups (140g) iceberg lettuce, finely shredded
Iceberg stays crisp under toppings. Romaine is a sturdy substitute if you want more color and a little more nutrition.
1 cup (180g) cherry tomatoes, quartered
Grape tomatoes are sweeter and firmer. Pat them dry so they don't bleed juice into the layers.
1 can (2.25 oz / 64g) sliced black olives, drained
Drained olives keep the dip from getting briny and wet. Skip them or use chopped jalapeños if olives aren't your thing.
3 green onions, thinly sliced
Slice both the white and green parts for flavor and color. Chives are a fine substitute in a pinch.
1 bag (13 oz / 370g) tortilla chips, for serving
Scoop-style chips hold up best. Fritos Scoops or thick pita chips are sturdy alternatives.
Tips & Tricks
Drain Everything
Wet ingredients are the number one reason layered dips turn soupy. Pat the lettuce, drain the olives, and spoon off any fat from the beef before layering.
Cool the Beef Fully
Warm meat will melt your cream cheese base and make the layers slide. Spread it out on a plate for 10 minutes to cool fast.
Season in Stages
Salt the cream cheese base lightly, season the beef boldly, and taste the salsa. Layered dips taste flat when only one layer is seasoned.
Serve With a Spoon
A spoon helps guests get a clean cross-section of every layer instead of dragging through just the top.
Pro Tips
Step-by-Step Instructions
1. Beat the creamy base
In a medium bowl, stir the softened cream cheese and sour cream until smooth and spreadable, about 1 minute. Spread it evenly across the bottom of a 9×13-inch dish or a deep glass bowl.
2. Brown the beef
Cook the ground beef in a skillet over medium-high heat (about 375F / 190C) for 6 to 8 minutes, breaking it apart, until no pink remains and the crumbles are browned. Drain the fat.
3. Season the meat
Stir in the taco seasoning and 2 tablespoons of water, then simmer for 2 minutes until the mixture thickens and coats the meat. Spread it over the cream cheese base and let it cool for 10 minutes.
4. Add the salsa layer
Spoon the salsa evenly over the cooled beef, tilting the dish gently to spread it. You should see a glossy red band with no dry patches.
5. Shower on the cheese
Scatter the shredded Mexican-blend cheese in an even blanket. Press it down very lightly so it grips the salsa instead of sliding off.
6. Pile on the veggies
Top with shredded lettuce, then arrange the tomatoes, olives, and green onions in neat rows or clusters. This is your photo moment, so take your time.
7. Chill and serve
Refrigerate for 20 minutes to firm the layers, then serve cold with tortilla chips. The first scoop should come out in a clean, colorful wedge.
Delicious Variations
Buffalo Chicken Version
Swap the beef for 2 cups shredded rotisserie chicken tossed in 1/2 cup buffalo sauce, and drizzle ranch over the top.
Vegetarian Black Bean Layer
Replace the beef with 1 can of seasoned black beans and 1 cup of corn for a meatless version with the same bold colors.
Greek Goddess Twist
Use hummus instead of the cream cheese base, then layer cucumber, feta, kalamata olives, and oregano for a Mediterranean spin.
How to Store Pinterest image
Refrigerator
Store leftovers covered in the fridge for up to 3 days. If you can, scoop out the lettuce before storing so it doesn't wilt.
Freezer
Freezing is not recommended because the cream cheese base and fresh vegetables separate and turn watery after thawing.
Reheating
Serve cold; do not reheat. If you want to refresh it, stir the layers together and add a handful of fresh lettuce on top.
Frequently Asked Questions
Q: Can I make Pinterest image dip ahead of time?
Yes, you can assemble it up to 24 hours ahead, but add the lettuce, tomatoes, and green onions right before serving. The creamy base, beef, salsa, and cheese layers hold beautifully overnight. Just cover it tightly with plastic wrap pressed gently against the surface.
Q: Why is my layered dip watery?
Watery dip almost always comes from undrained ingredients and warm meat. Drain the beef fat, drain the olives, pat the tomatoes and lettuce dry, and let the beef cool completely before it touches the cream cheese. A thick salsa also makes a big difference.
Q: Can I use ground turkey instead of beef?
Absolutely, ground turkey works great and lightens the dip. Use 93/7 turkey, add 1 tablespoon of olive oil to the pan so it doesn't stick, and season it a little more aggressively since turkey is milder than beef.
Q: How long can this dip sit out at a party?
It can safely sit out for about 2 hours at room temperature. After that, bacteria grow quickly in dairy, so nest the bowl in a larger bowl of ice if you want it out longer. When in doubt, refrigerate it and bring it back out fresh.
Q: What chips go best with this dip?
Sturdy scoop-style tortilla chips are the best choice because they hold a full cross-section of layers without cracking. Thick pita chips, Fritos Scoops, or even crisp bell pepper strips work well too.
Go build the bowl, snap that photo, and watch your friends hover around the table like moths near a porch light. If you make it, tell me which layer disappeared first, and tag me so I can cheer you on. Stay curious, stay safe.

Pinterest image
Pinterest image dip is a creamy, colorful layered party appetizer that looks stunning in photos and tastes even better with tortilla chips.
🧂 Ingredients
- 8 oz (227g) cream cheese, softened
- 1 cup (240g) sour cream
- 1 lb (454g) ground beef (80/20)
- 2 tbsp taco seasoning
- 1 cup (260g) chunky salsa
- 2 cups (226g) shredded Mexican-blend cheese
- 2 cups (140g) iceberg lettuce, finely shredded
- 1 cup (180g) cherry tomatoes, quartered
- 1 can (2.25 oz / 64g) sliced black olives, drained
- 3 green onions, thinly sliced
- 1 bag (13 oz / 370g) tortilla chips, for serving
📋 Instructions
- 1Beat the creamy base — In a medium bowl, stir the softened cream cheese and sour cream until smooth and spreadable, about 1 minute. Spread it evenly across the bottom of a 9×13-inch dish or a deep glass bowl.
- 2Brown the beef — Cook the ground beef in a skillet over medium-high heat (about 375F / 190C) for 6 to 8 minutes, breaking it apart, until no pink remains and the crumbles are browned. Drain the fat.
- 3Season the meat — Stir in the taco seasoning and 2 tablespoons of water, then simmer for 2 minutes until the mixture thickens and coats the meat. Spread it over the cream cheese base and let it cool for 10 minutes.
- 4Add the salsa layer — Spoon the salsa evenly over the cooled beef, tilting the dish gently to spread it. You should see a glossy red band with no dry patches.
- 5Shower on the cheese — Scatter the shredded Mexican-blend cheese in an even blanket. Press it down very lightly so it grips the salsa instead of sliding off.
- 6Pile on the veggies — Top with shredded lettuce, then arrange the tomatoes, olives, and green onions in neat rows or clusters. This is your photo moment, so take your time.
- 7Chill and serve — Refrigerate for 20 minutes to firm the layers, then serve cold with tortilla chips. The first scoop should come out in a clean, colorful wedge.

Kwame writes about technology and digital privacy for everyday users. He breaks down complex topics like data tracking and encryption into simple, relatable terms.


Leave a Comment